Related Tags
DIY Workshop: How to fix a faulty jack
Replacing a faulty jack connector is easy and should save you time and money. Here’s how to do it.
Ever gone to plug in your beloved electric and found that a poor connection is giving you a scratchy, buzzy and frankly rubbish sound from your amplifier?
But before you reach for the soldering iron, be sure to troubleshoot the issue. First, safely check that your guitar cable isn’t breaking down or faulty, then ensure that your amp is working okay. Once you’ve confirmed that the jack is indeed the issue, you’ll be able to fix your guitar and get it back in action for very little money and effort.
Now, before I get chastised for spreading misinformation, there are many types of guitar and many types of input positioning. There aren’t that many types of input jacks for guitars besides active and passive.
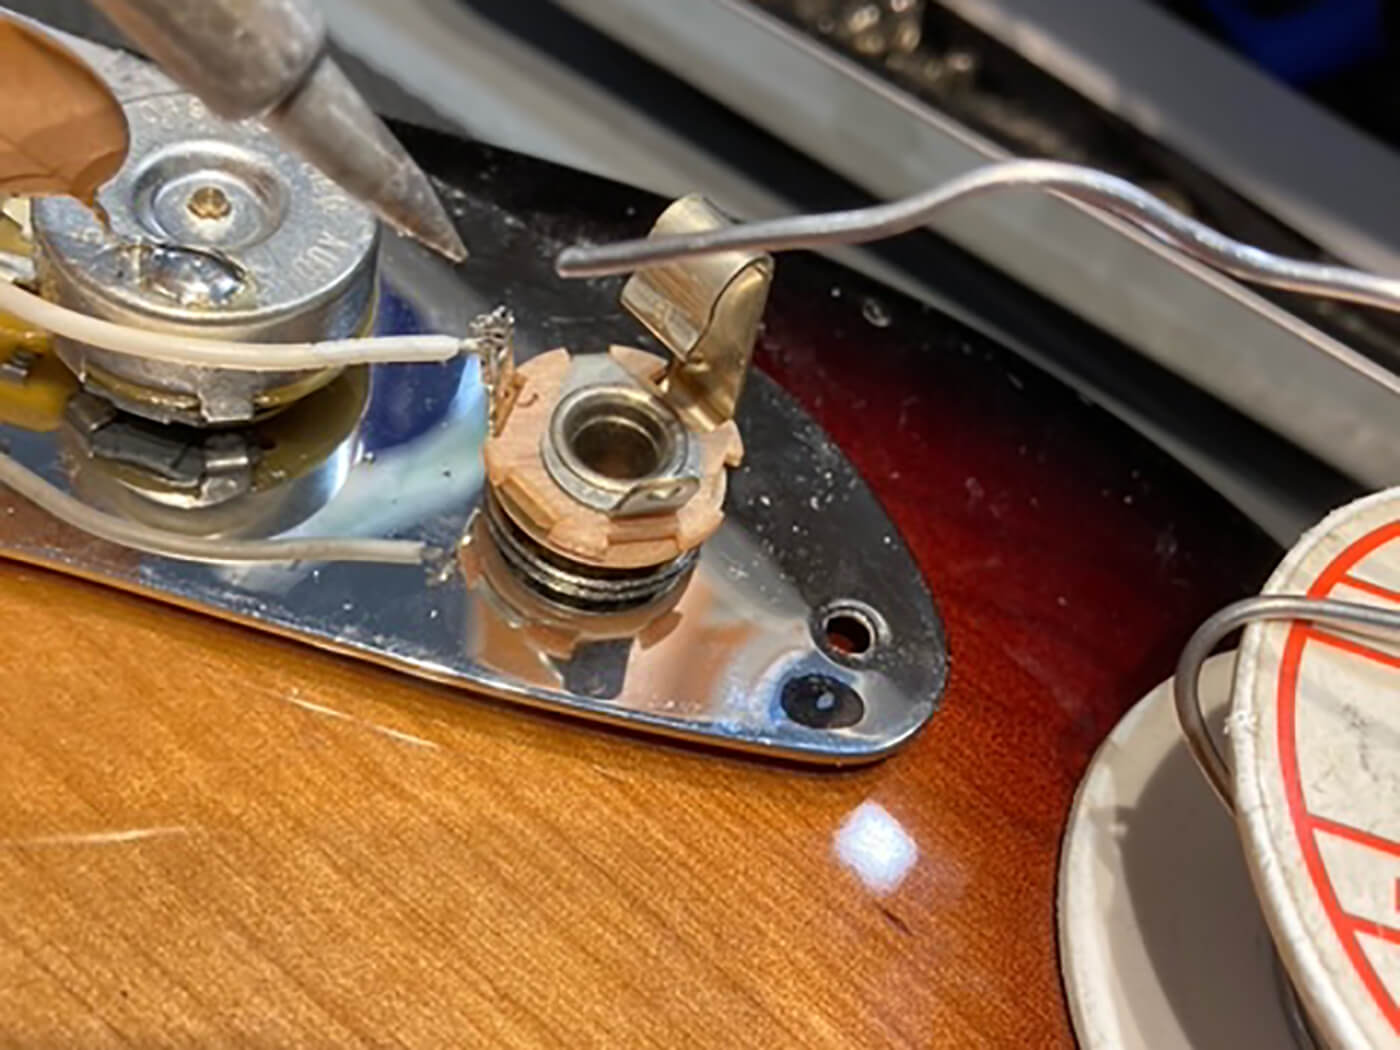
In this article, I’m going to focus on this cheeky little Fender Jaguar owned by my friend Ben Barlow of Neck Deep. Ben brought the guitar to me for a service and explained that the jack was faulty and causing issues. I used his guitar to illustrate the basics.
With many guitars manufactured in China, South Korea and Indonesia, etc, sometimes their electrical components can fail due to the cheap materials they were constructed with.
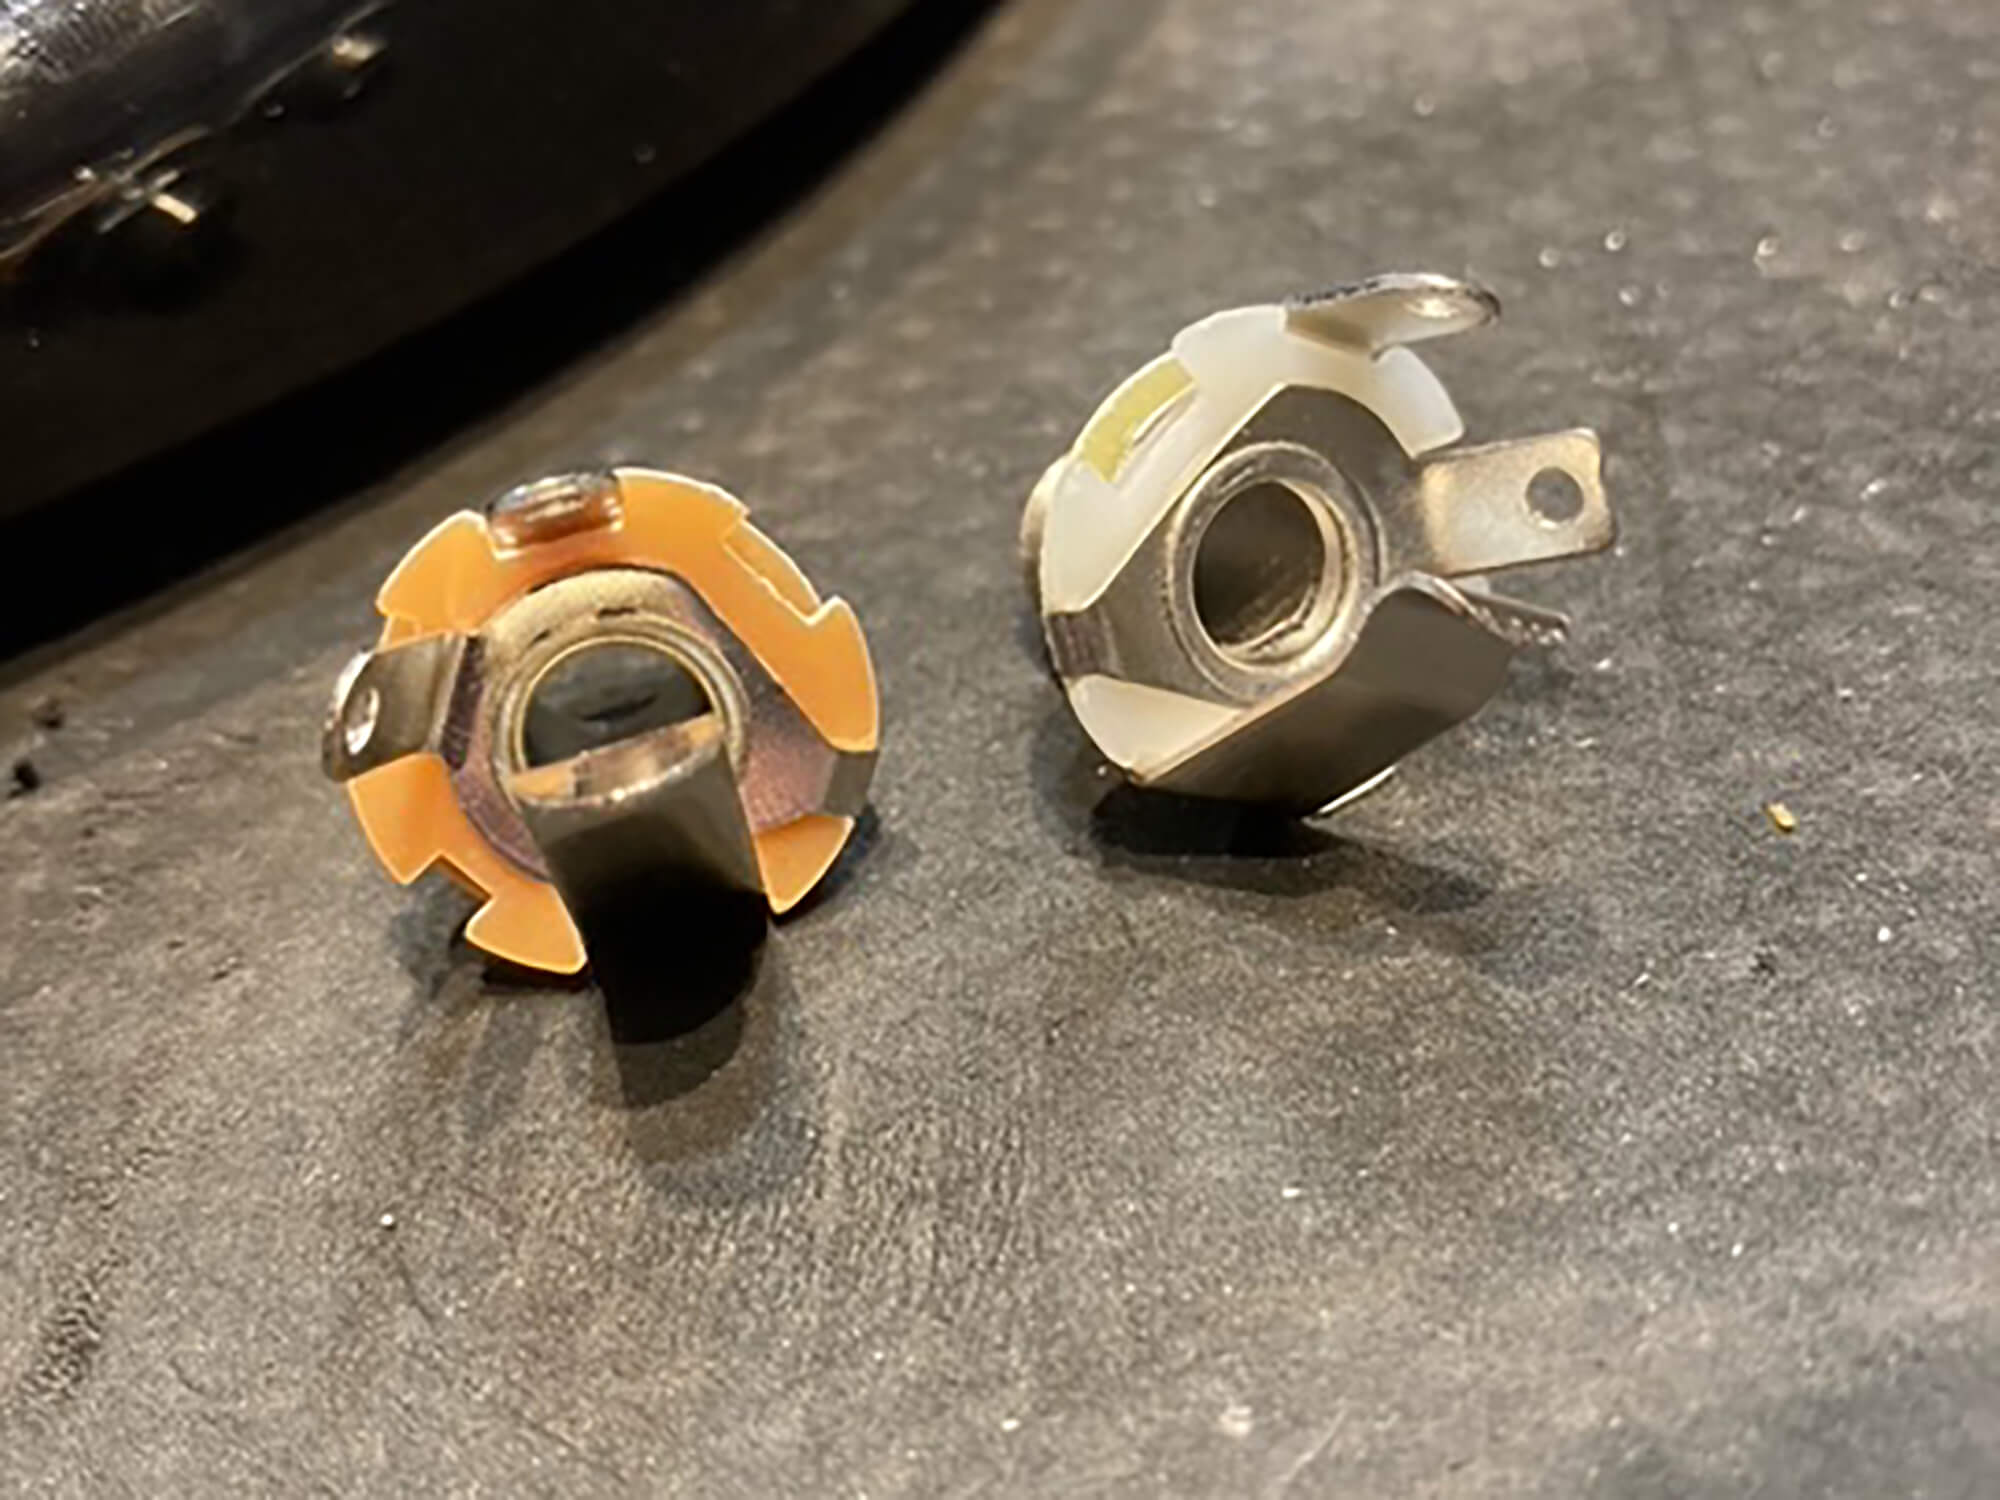
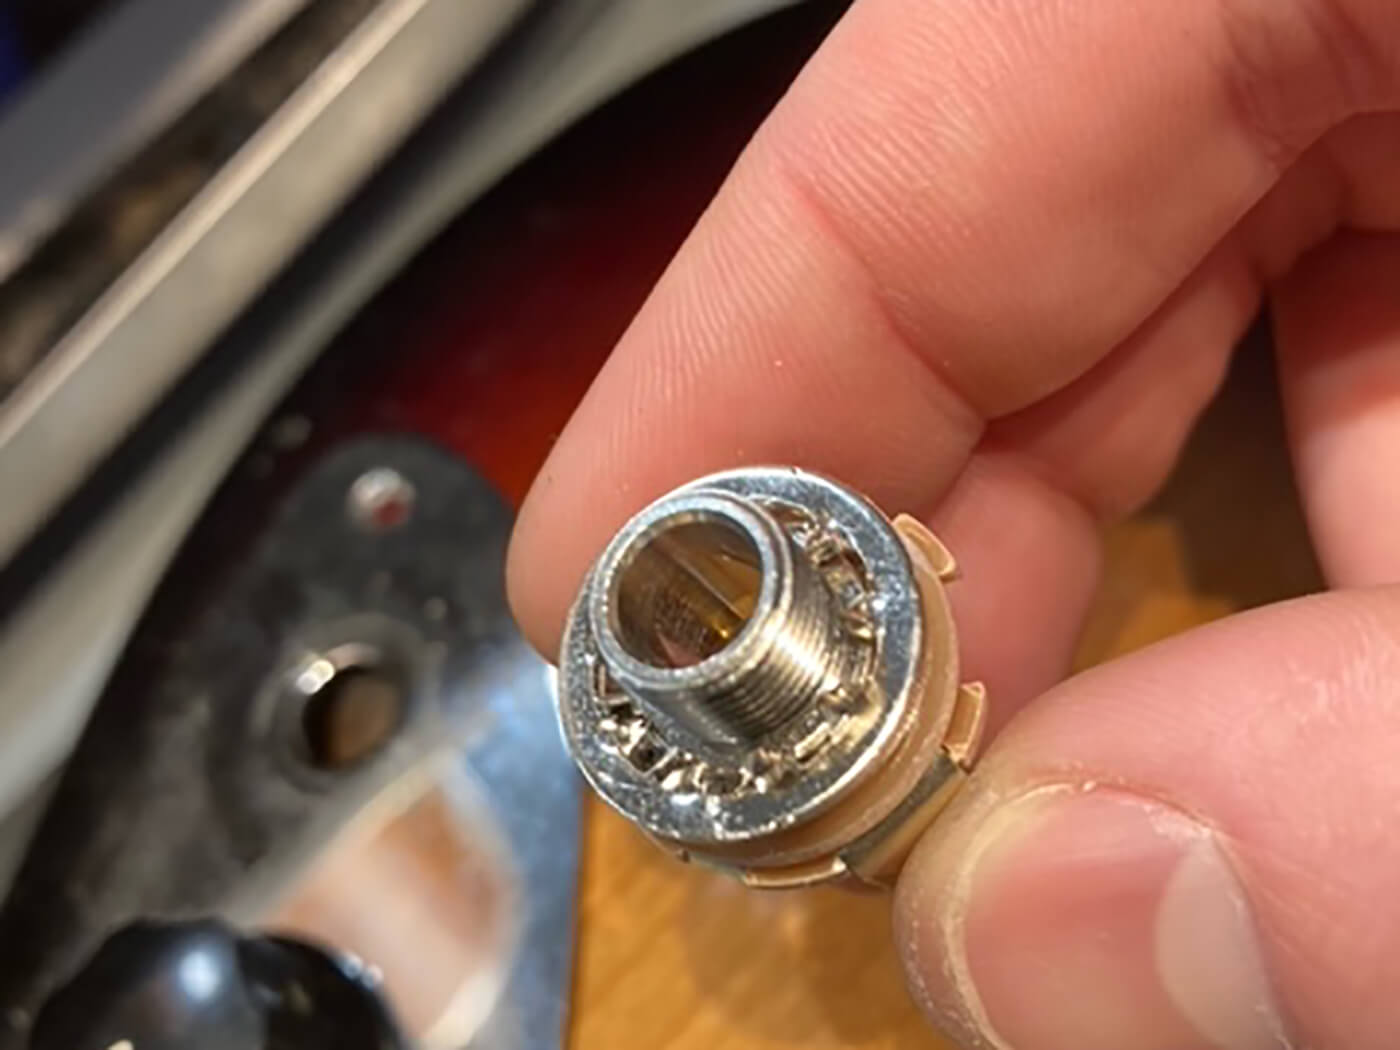
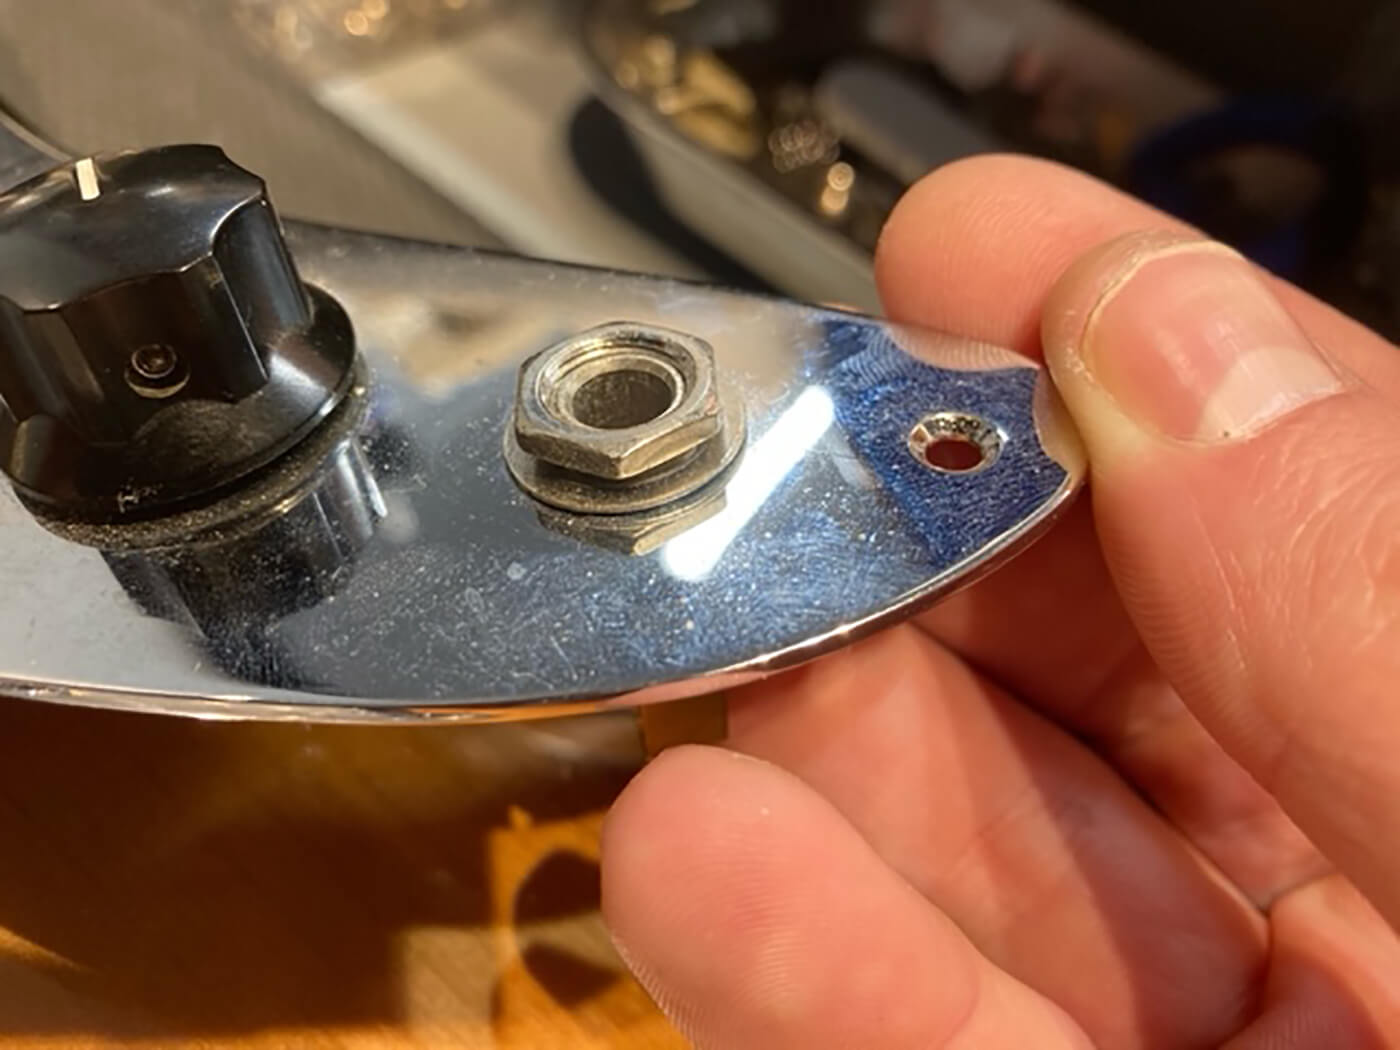
Take, for example, this jack socket. Look closely and you’ll see that it was made in China. This is not necessarily a bad component but, generally speaking, Chinese-made components have a shorter lifespan than those made in the US and UK by other brands.
You can buy a Chinese-made component for about £2.50. It will work, sure, but over time the connection part of the jack will likely weaken and become worn from use. By spending an extra £1 or so, you can get a more reliable Switchcraft jack, as pictured.
You can identify these components by their branding. Rest assured, all your guitar heroes likely have the same or similar components in their guitars. Fender and Gibson have used them since the 1950s, so they’ll do fine for us.
Let’s fire up the soldering iron and get started. Be warned, soldering irons are really, really hot. If you aren’t confident with them, seek advice. If you have just bought one for DIY guitar jobs, this repair is a good place to start. But be careful and be sure to switch them off when not in use.
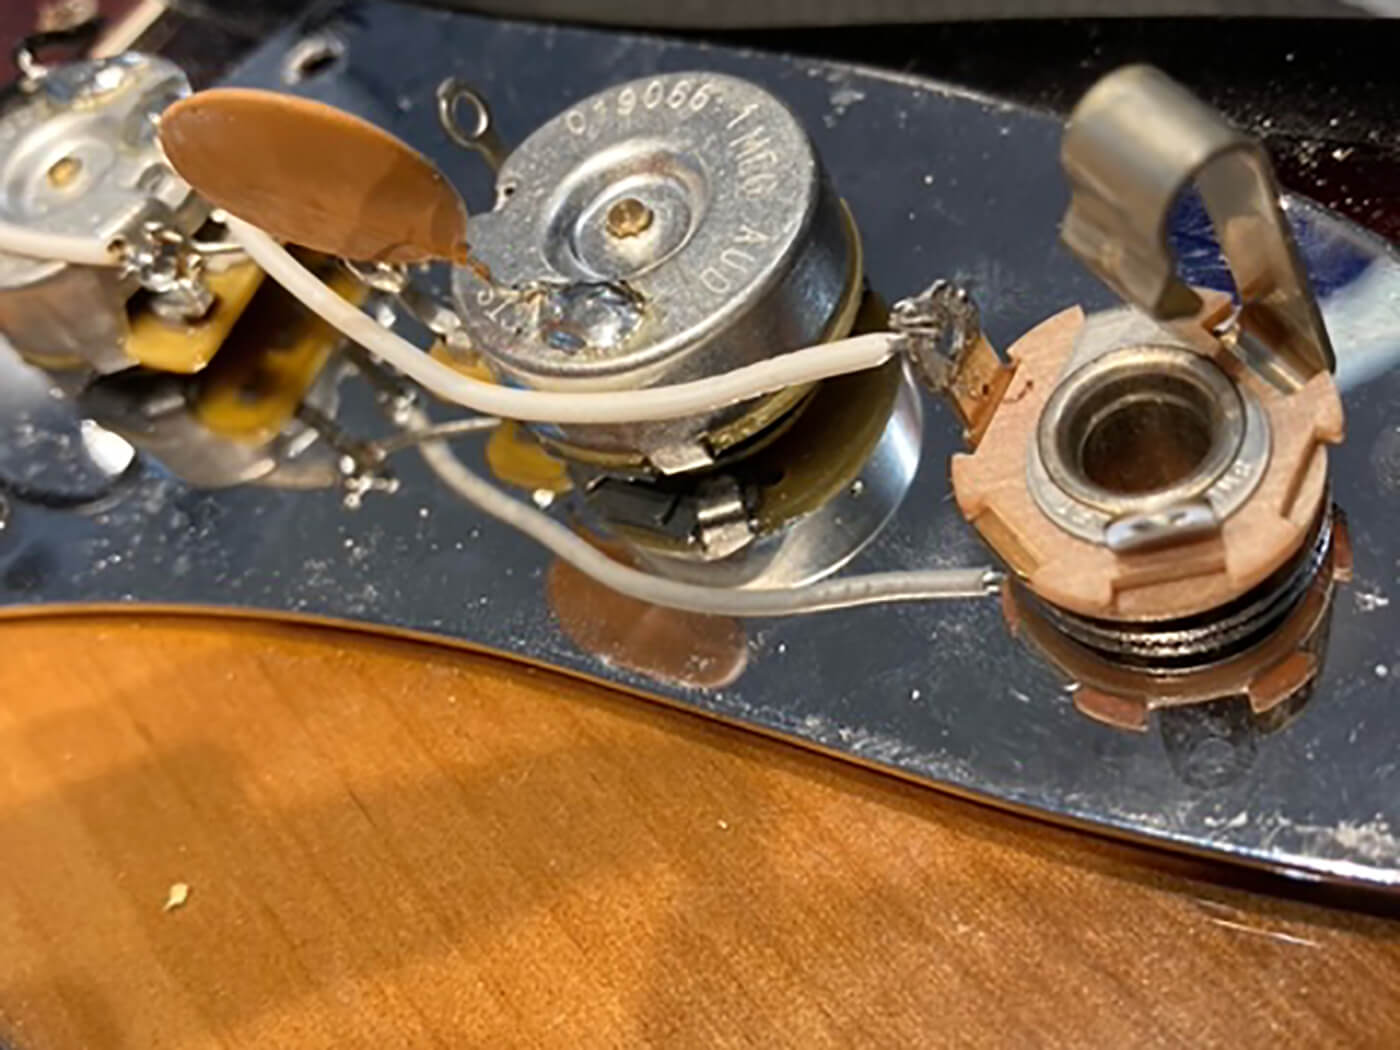
With many passive jack sockets, you will find only two terminals, an earth and a live. The earth is black and the live usually white. These are the only two connections. If you have an active circuit in your guitar (batteries, etc), you will have three terminals, the third acting as an on-off for the battery. Remember to unplug your active guitar when not in use for extended battery life.
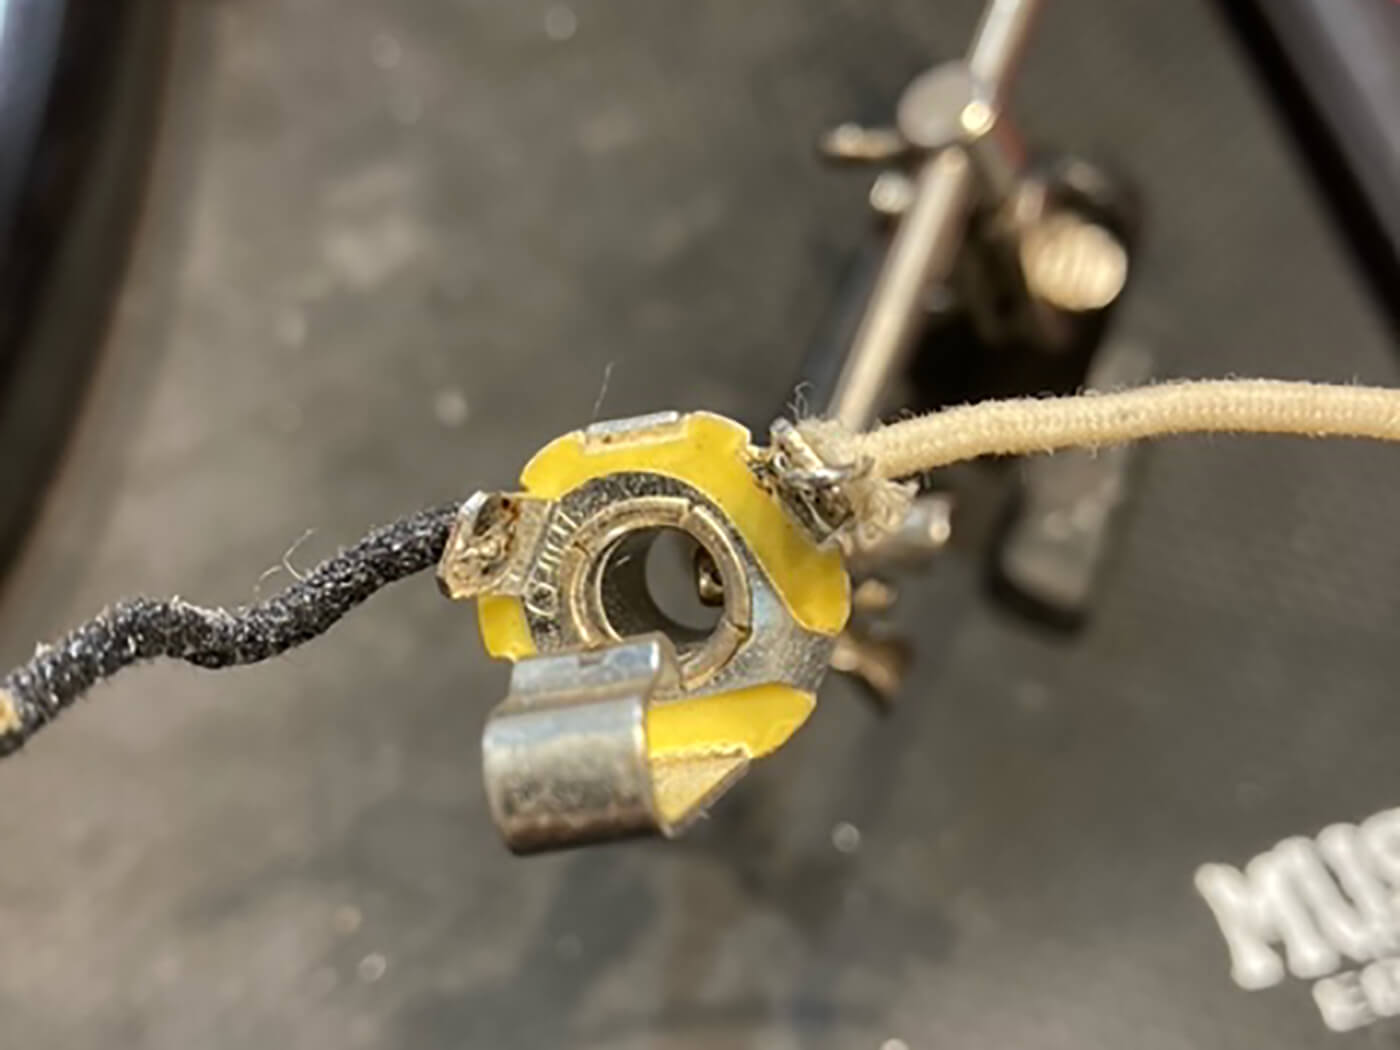
In the case of Ben’s Jaguar, there are two terminals on the jack and only one is being used. That is because Fender have earthed the guitar elsewhere, meaning that the jack is only connected by one white wire, which makes our job here 50 per cent easier. Your guitar will more than likely be earthed on the jack.
Another example of jack wiring is Gibson’s braided type. This is wired in a way that requires some of the braiding to be cut away, and the braid itself is the earth and is soldered directly to the earth terminal, allowing the live (the inner part of the cable) to be soldered to the live. An easy way to remember which terminal is which is that the earth terminal is actually linked to the barrel part of the jack, whereas the live is not.
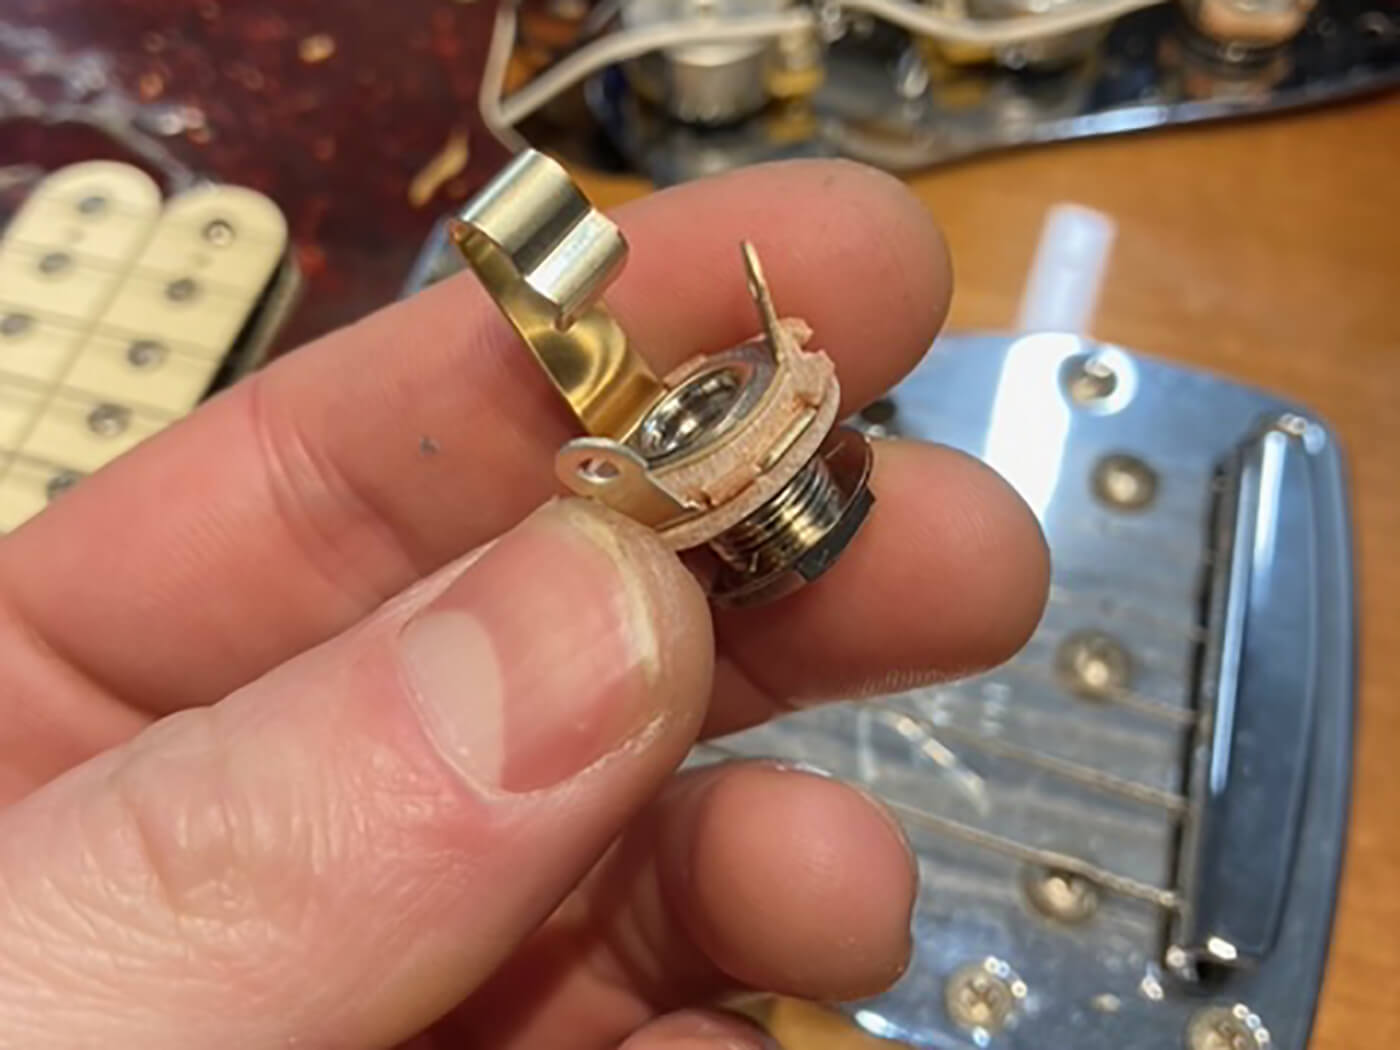
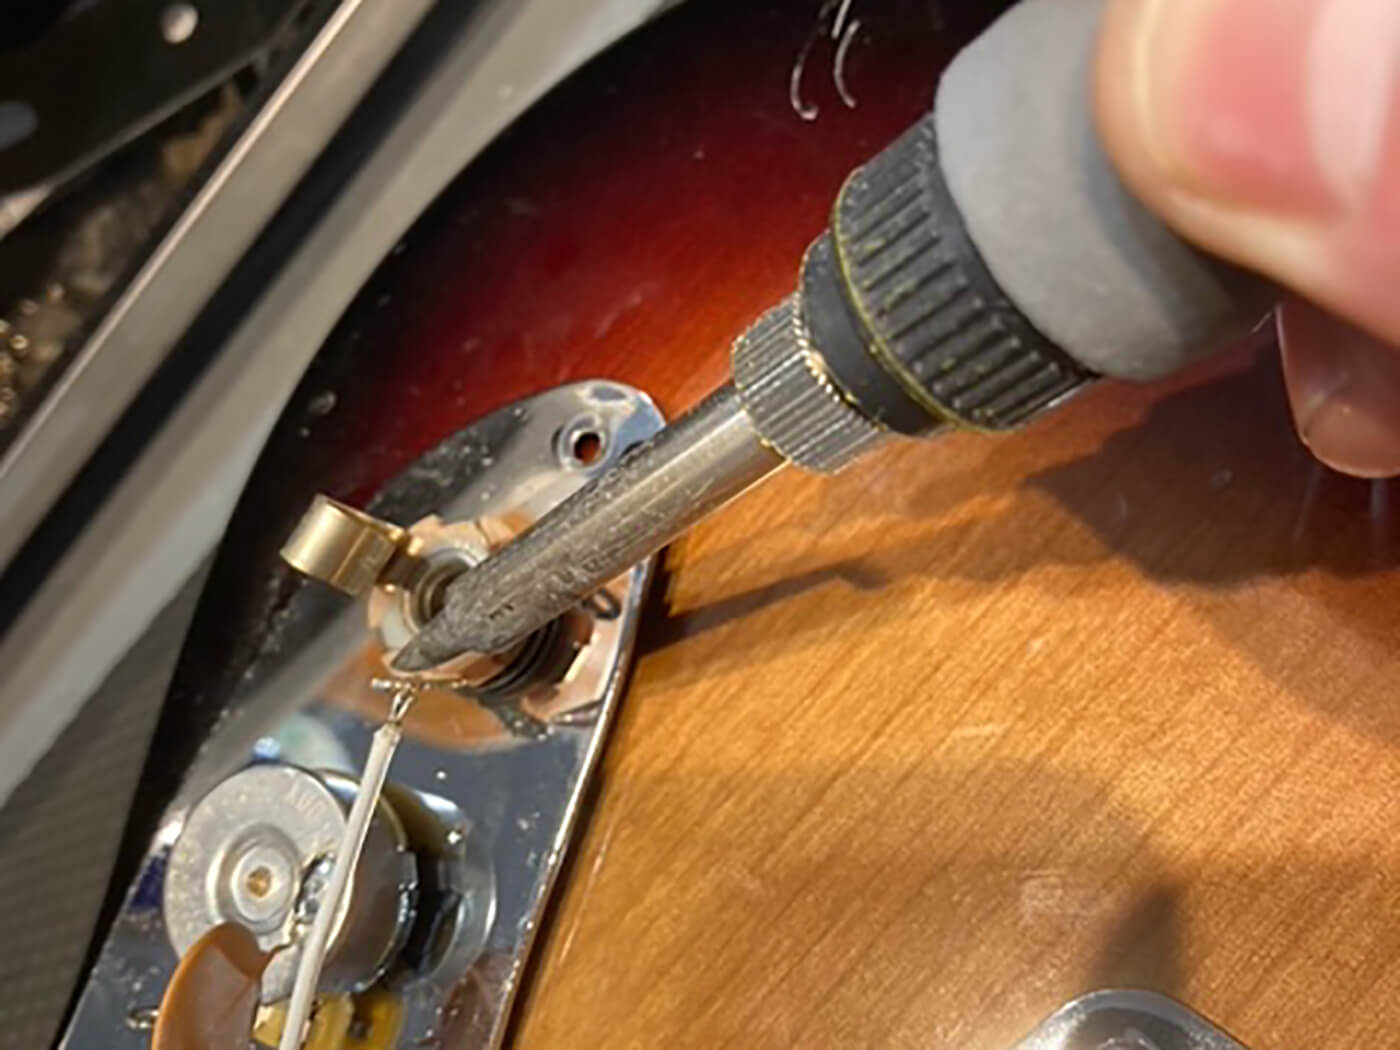
Heat the solder joint on the terminal and try to gently pry the wire off. In some cases, this wire may already be tired and frayed, hence the issues with the guitar’s signal.
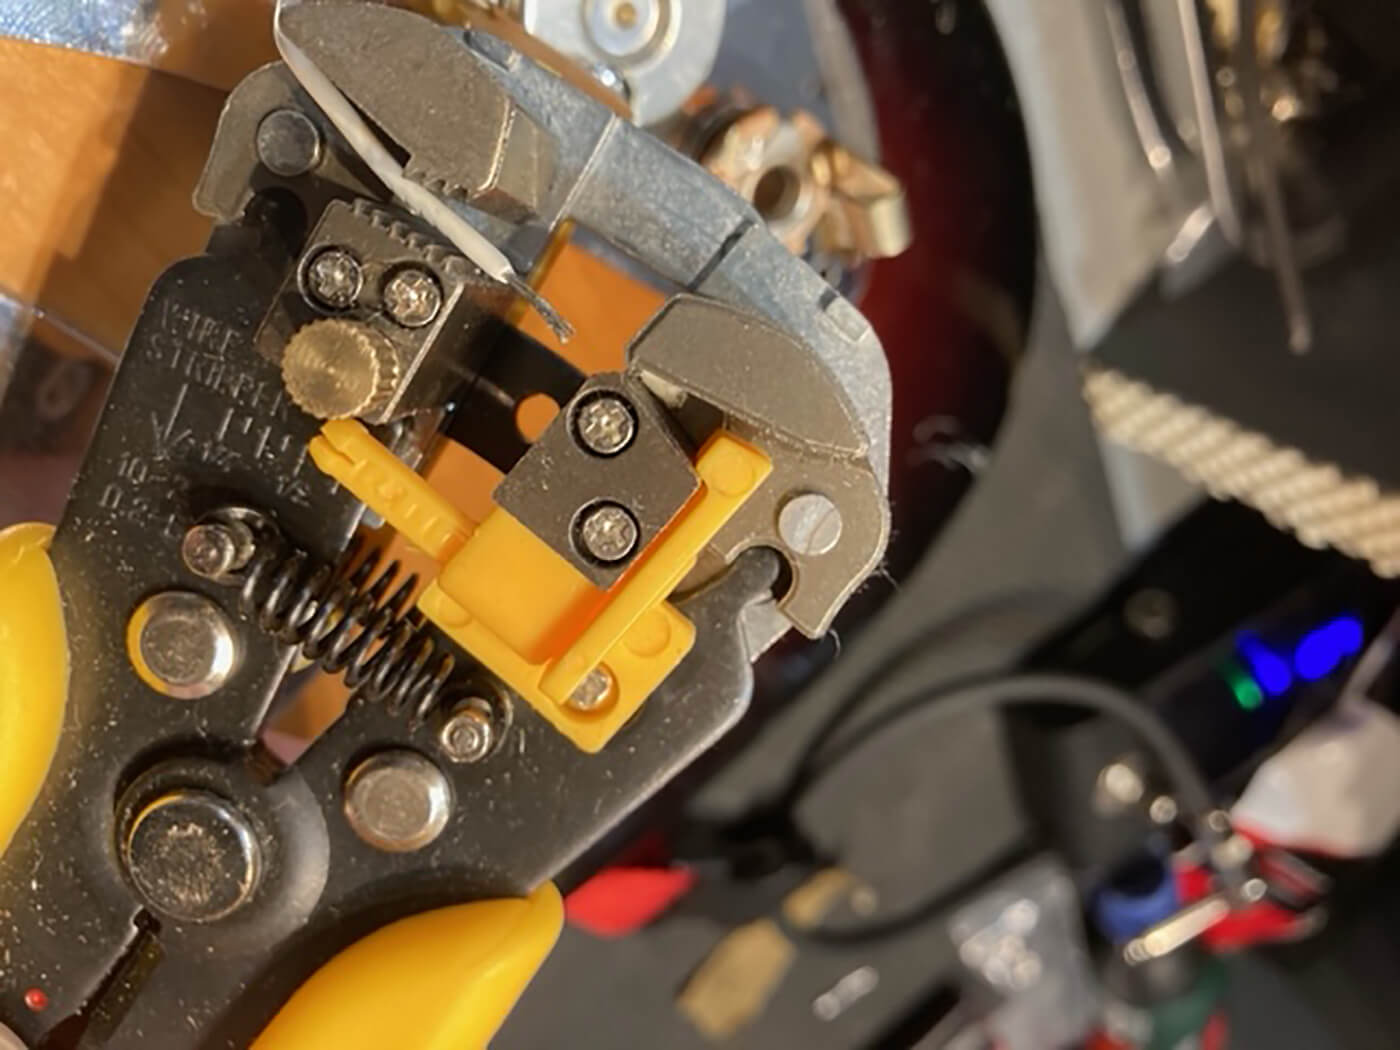
If the wire isn’t moving and you’ve got enough excess, you can easily clip them close to the terminals and strip the wire back for a neater job. If not, you’ll have to either remove the solder by repeatedly using a suction tool and gently pulling the wire out.
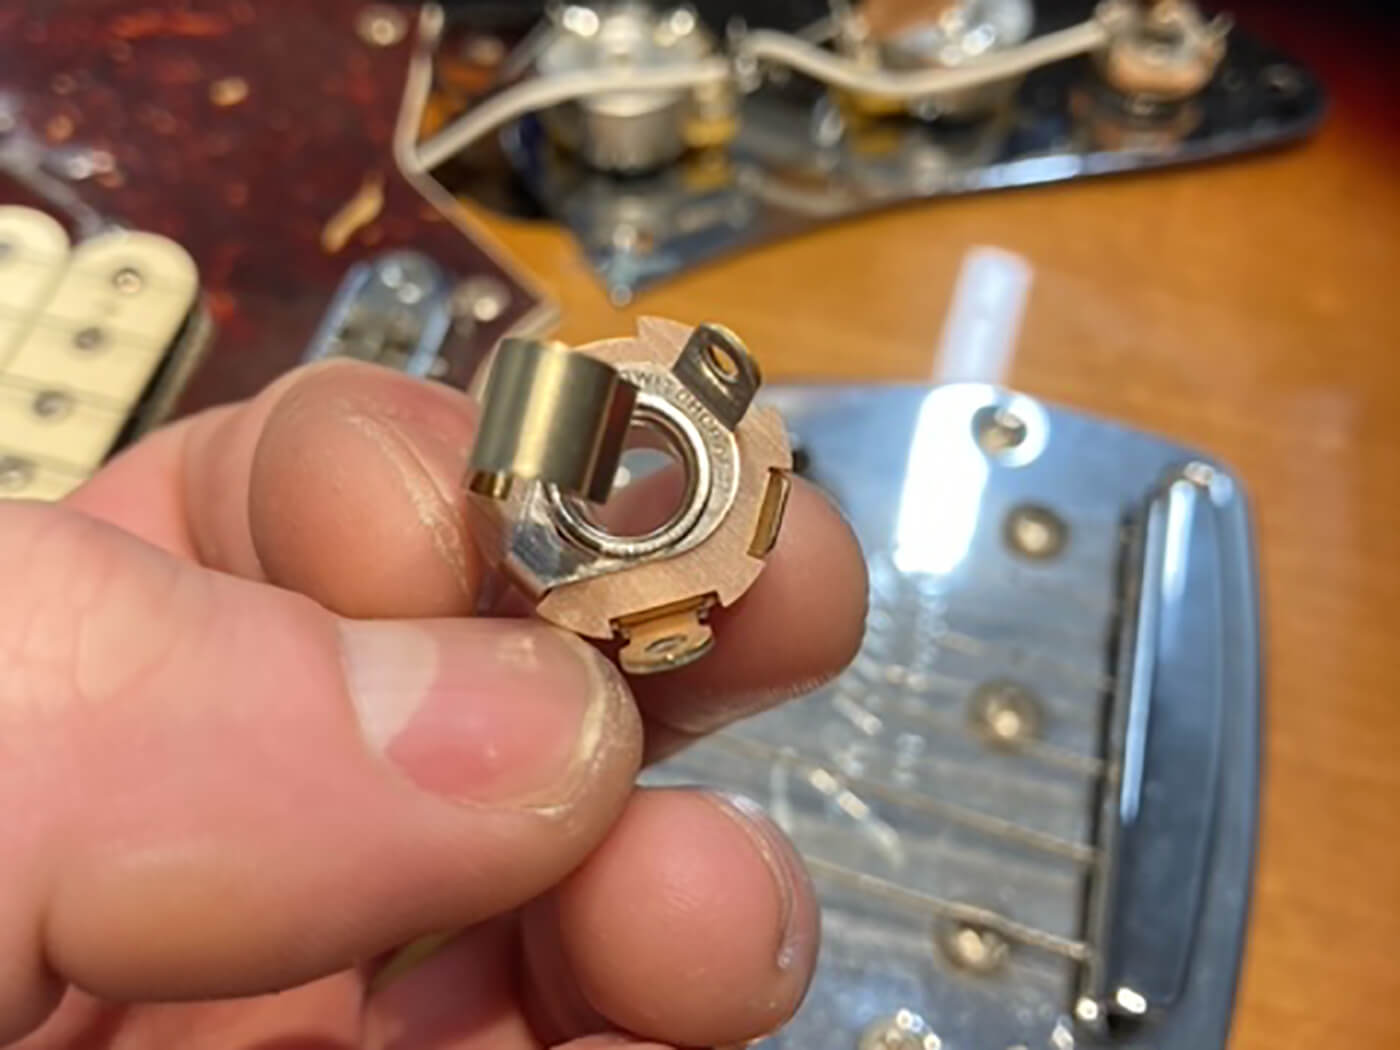
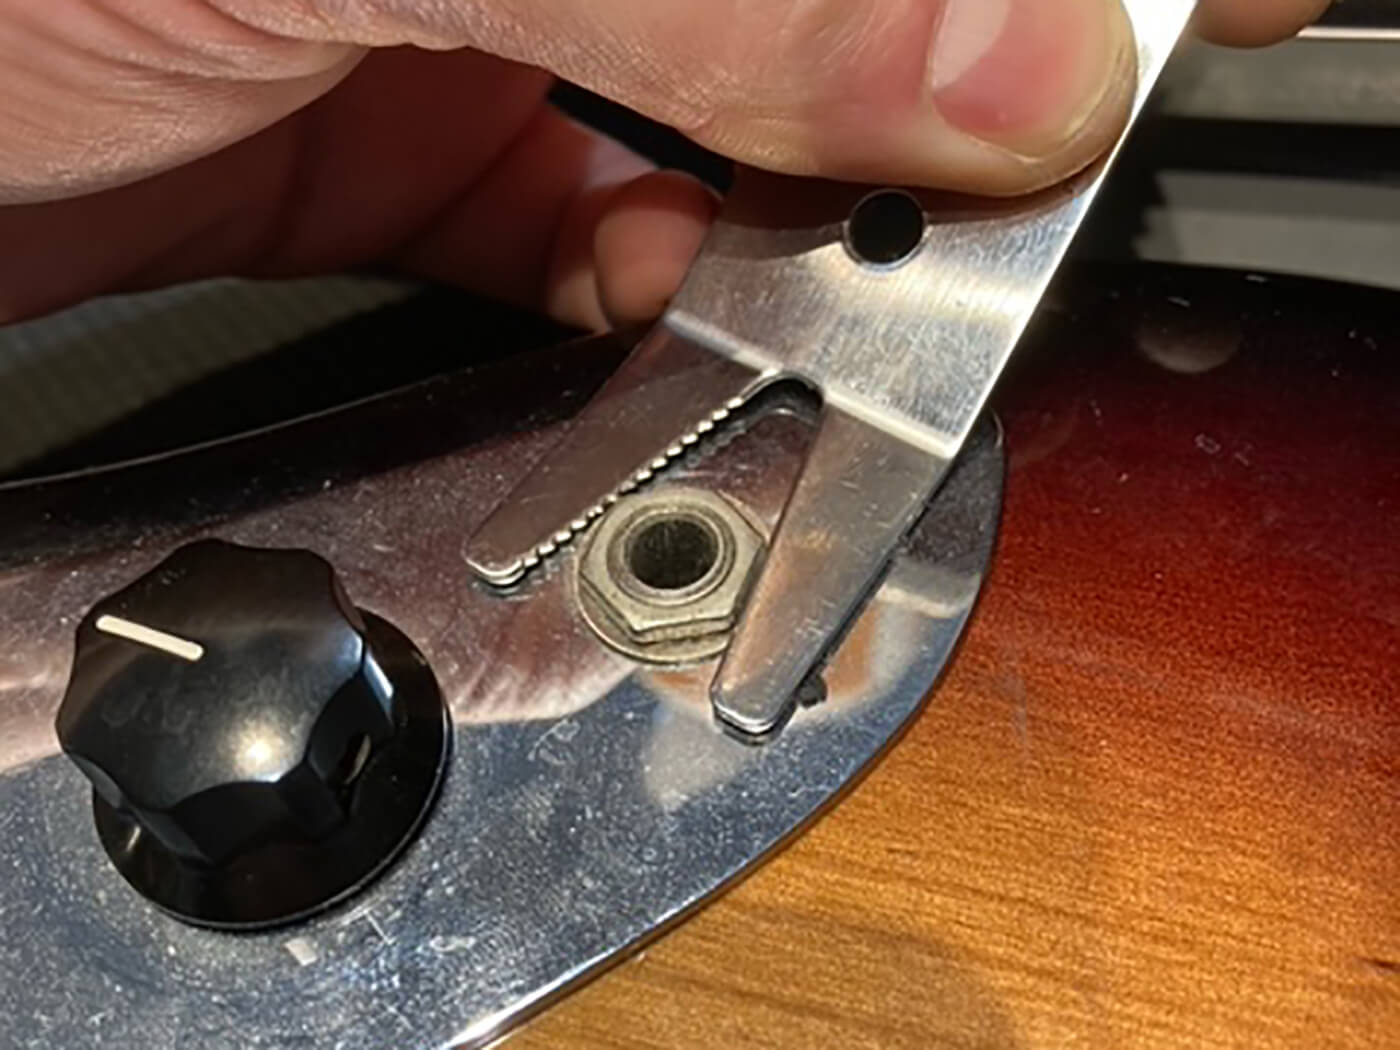
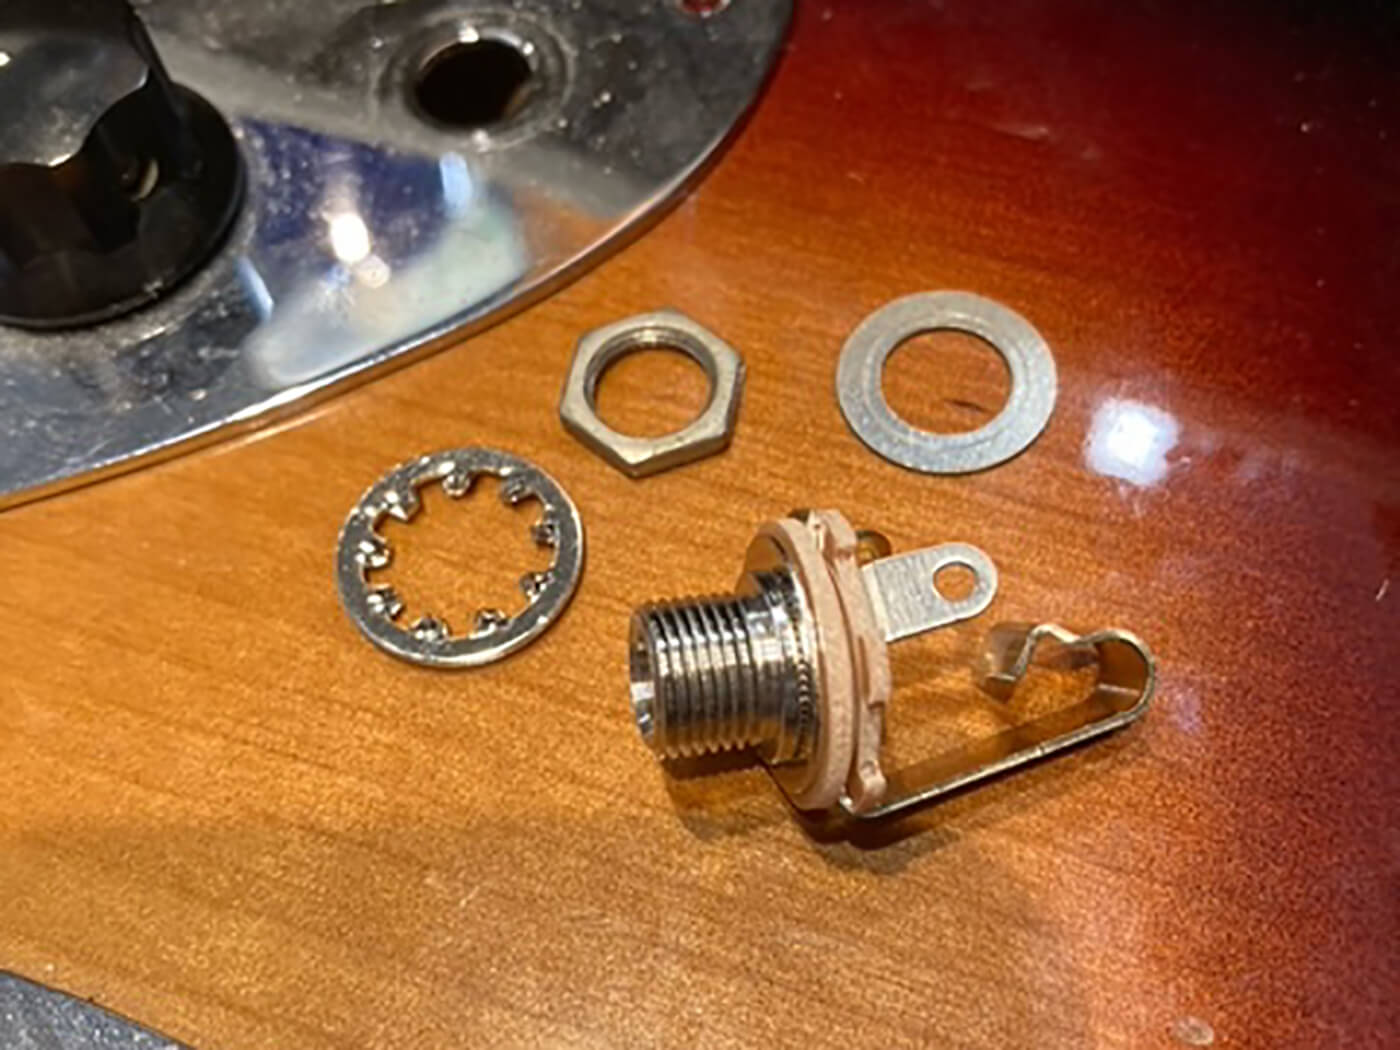
Once you’ve got the old jack desoldered or disconnected, remove the nut holding it in place, as well as the washers. Dispose of the component. Many of us are guilty of hoarding parts that we think may be useful but this isn’t one of them – the washers are likely worth more to future you than the faulty jack connector.
Put the new jack in place on the guitar, add the locking washer first, then fit the jack and add the next washer and the nut. Tighten the nut so it’s secure.
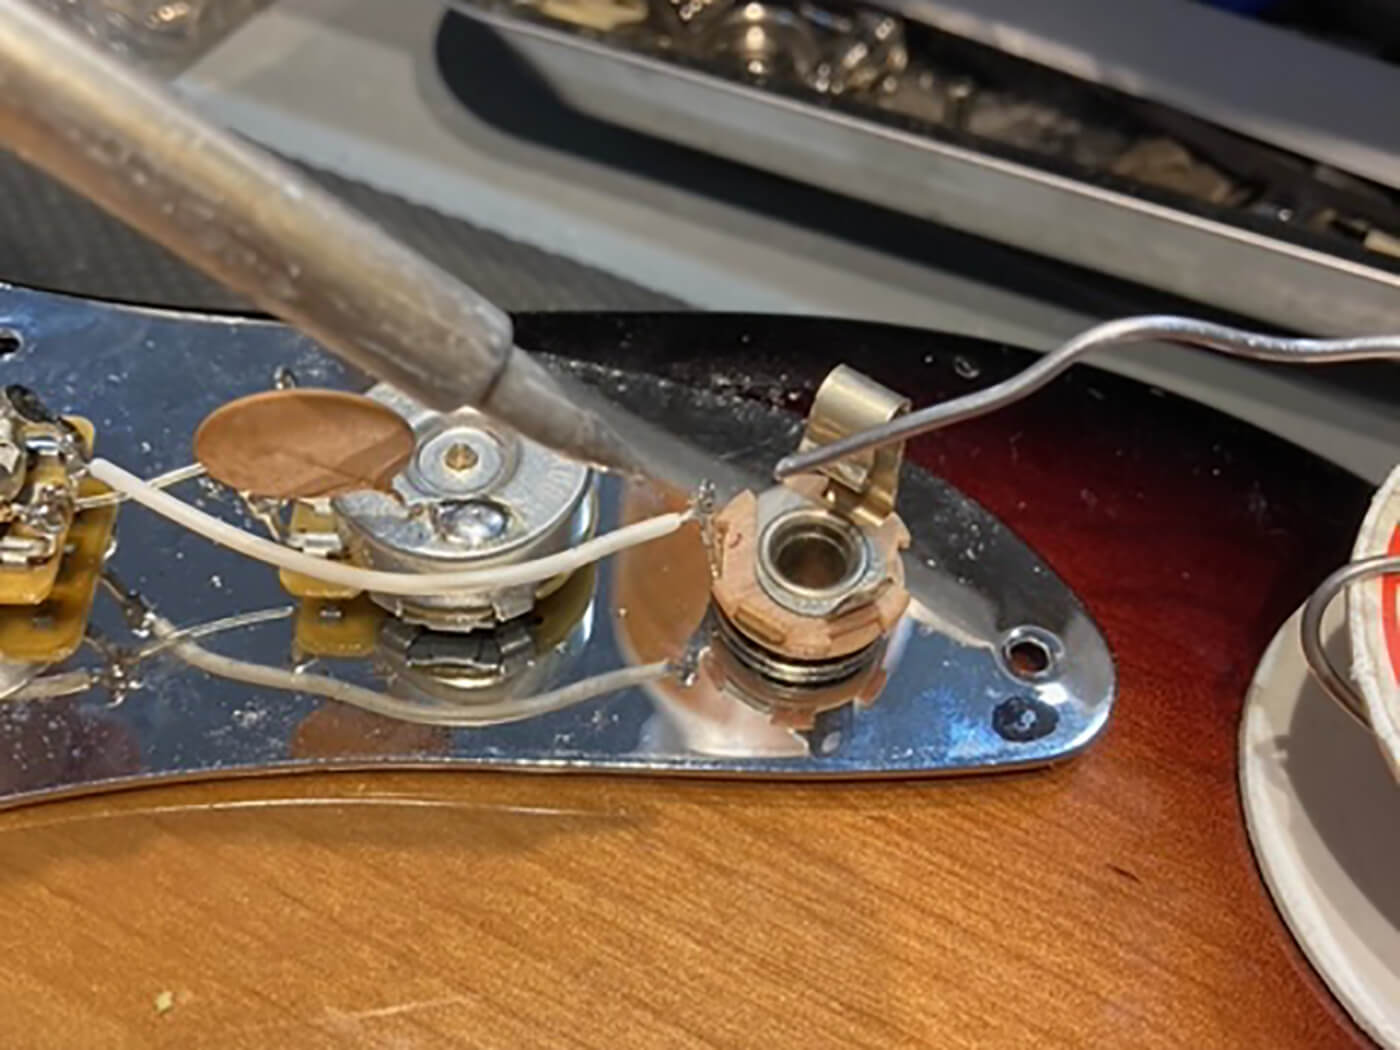
With the wire in place on the correct terminal (earth black, live white), tin the iron again and slowly add the solder onto the iron and onto the wire and the terminal. Allow to cool but do not blow on it, then check that it’s secure. Ideally, this should be done with one hit of solder to save from making a mess.
Once you’ve soldered both wires (or, in this example, the one wire) onto the jack, test it by plugging in and tapping the pickups to hear if the signal is coming through. If you’ve soldered it the wrong way round, it’ll likely buzz loudly and you’ll need to do it again and reverse the wires.
Either way, it’s a lot more satisfying to fix your own guitar than it is to hand it over to a tech, plus soldering is a useful skill to have, as it can save you a lot of time and money. Good luck out there.
For more guides, click here.