Related Tags
DIY Workshop: How to make old guitars play and stay in tune
We show you how to tackle two of the main offenders when it comes to tuning woes: the infamous Bigsby vibrato and the tuners themselves.
It may be helpful in a creative context, but friction is your enemy when it comes to keeping your guitars in tune. The vast majority of tuning issues are caused by friction at the nut. Strings cannot move freely through poorly cut or badly worn nut slots, which is why locking-vibrato designs such as the Floyd Rose dispensed with conventional nuts altogether.
Nut work is tricky. It requires specialist tools and is generally best left to experienced guitar techs. But friction can be an issue in other areas, too. Here, I’ll be addressing tuner and vibrato servicing.
Practically everything here can be carried out by any competent amateur tech with a bit of DIY experience, and avoiding unnecessary hardware replacement will save you a lot of money in the long run. Over time guitar tuners can stiffen up, get sloppy and loose or, occasionally, even seize up completely. Replacing worn Klusons with Grovers and Schallers was in the past common practice on old guitars but, in my experience, old tuners can usually be made operational again and will tune up more accurately and hold tune better than before.
This is true for most old machineheads, but it’s worth distinguishing between the types of tuners found on vintage and on modern guitars. Prior to the 1970s, most guitars were fitted with open-geared or Kluson-style tuners. More upmarket models were fitted with sealed types, also known as die-cast tuners, which are found on most modern guitars, too.
With open-gear types, the workings are visible, and they are actually the easiest to service and maintain. Klusons and F-stamped Fender tuners conceal their working parts under covers. The idea behind die-cast tuners is that the lubrication for the parts is sealed inside a casing, which prevents them from getting clogged with dust and dirt.
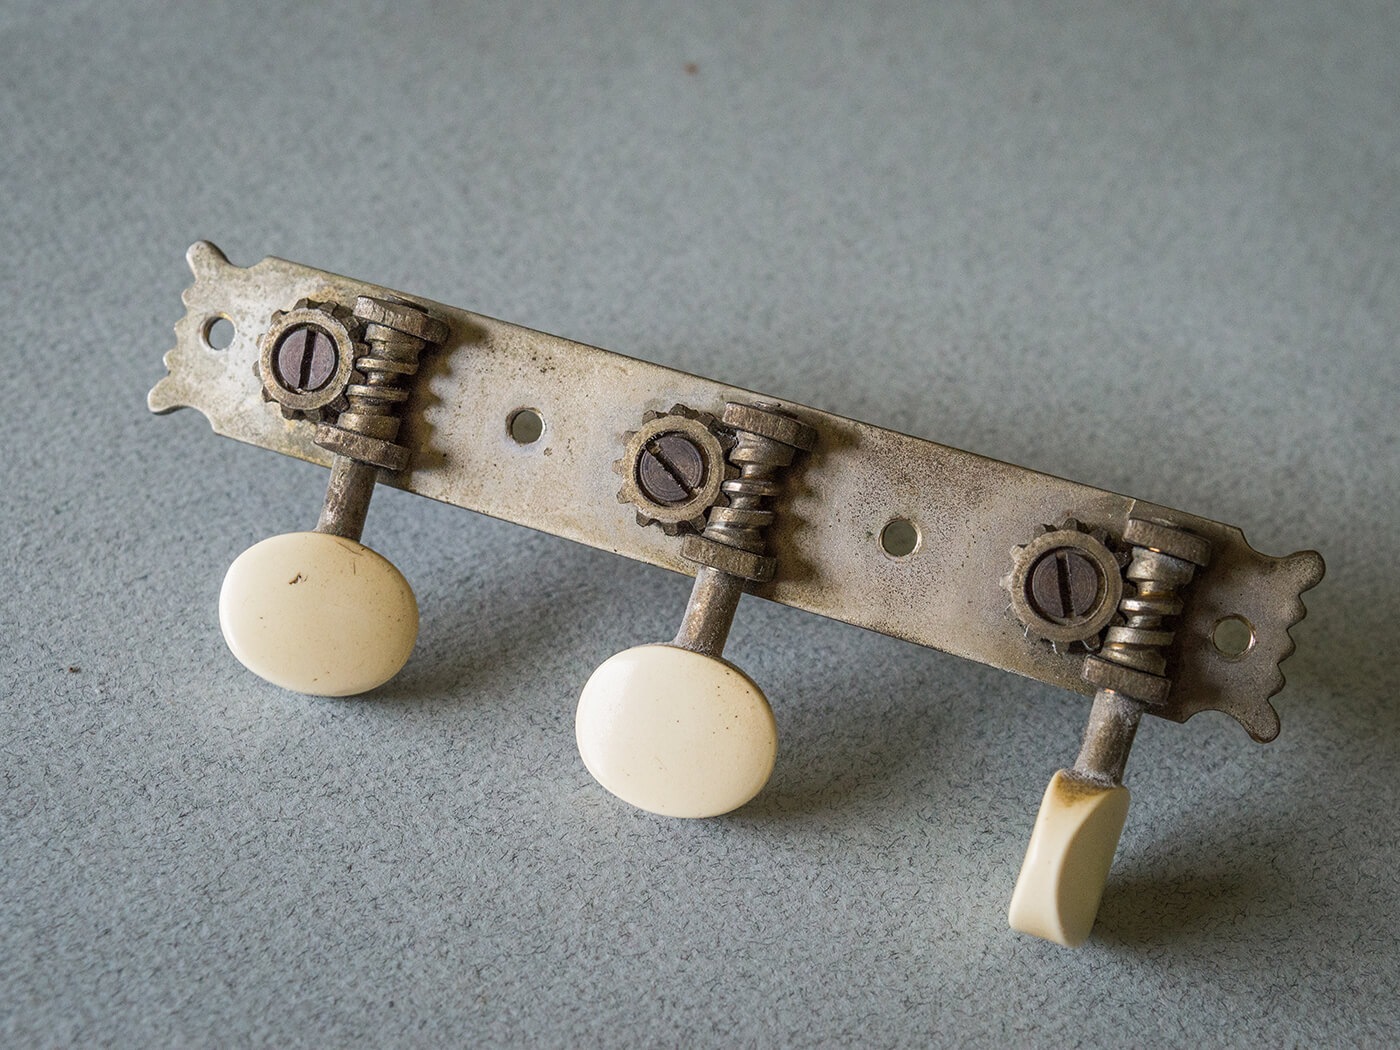
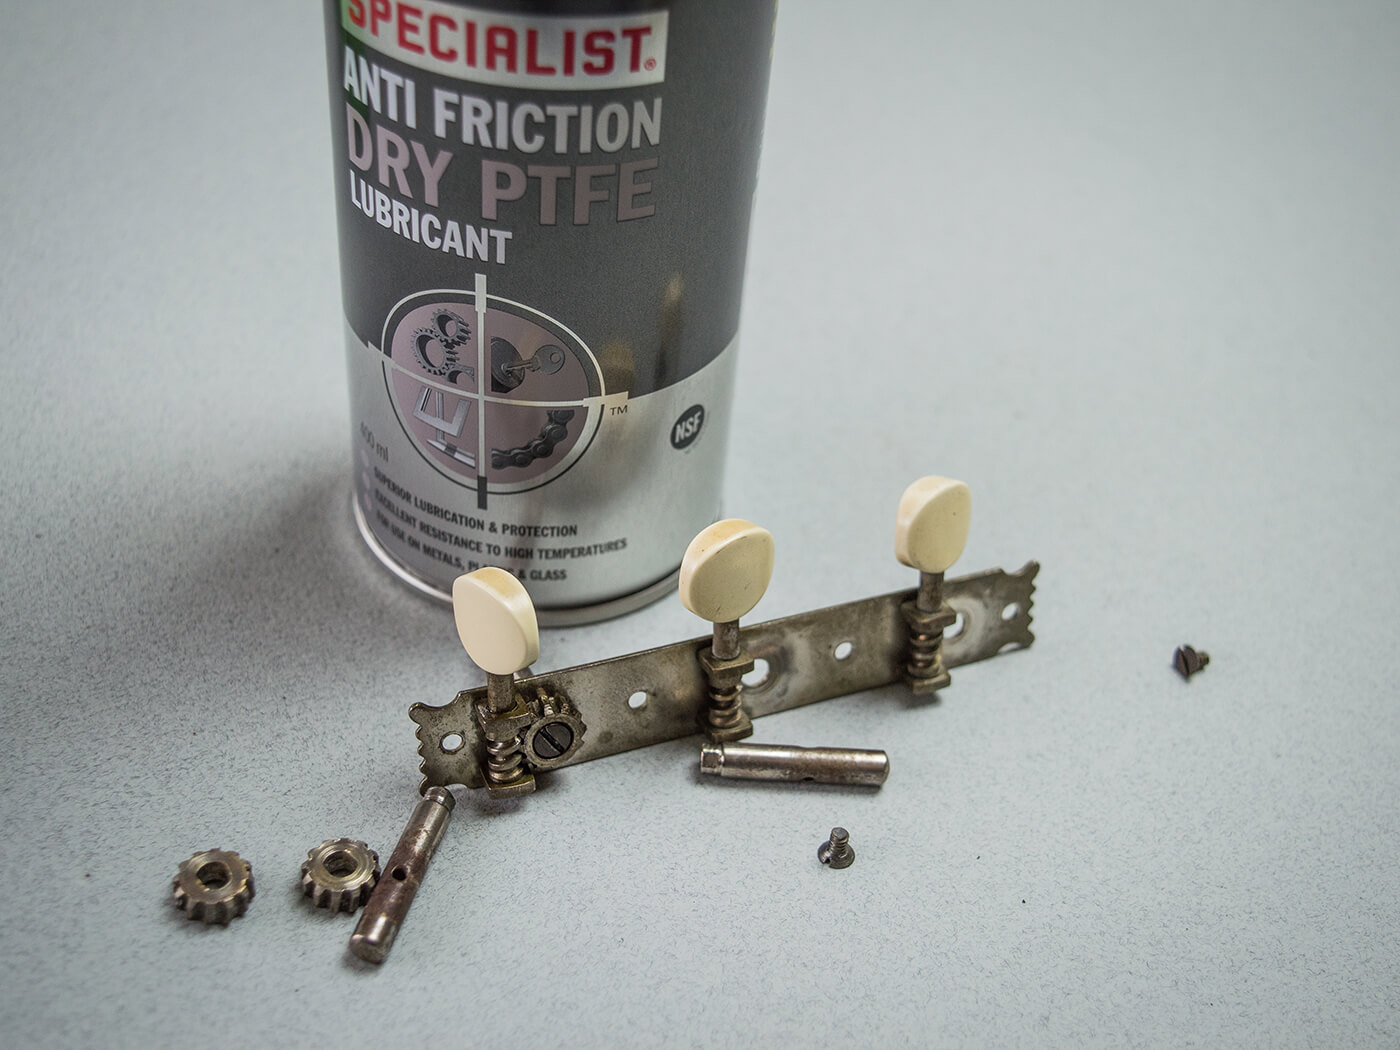
Top gears
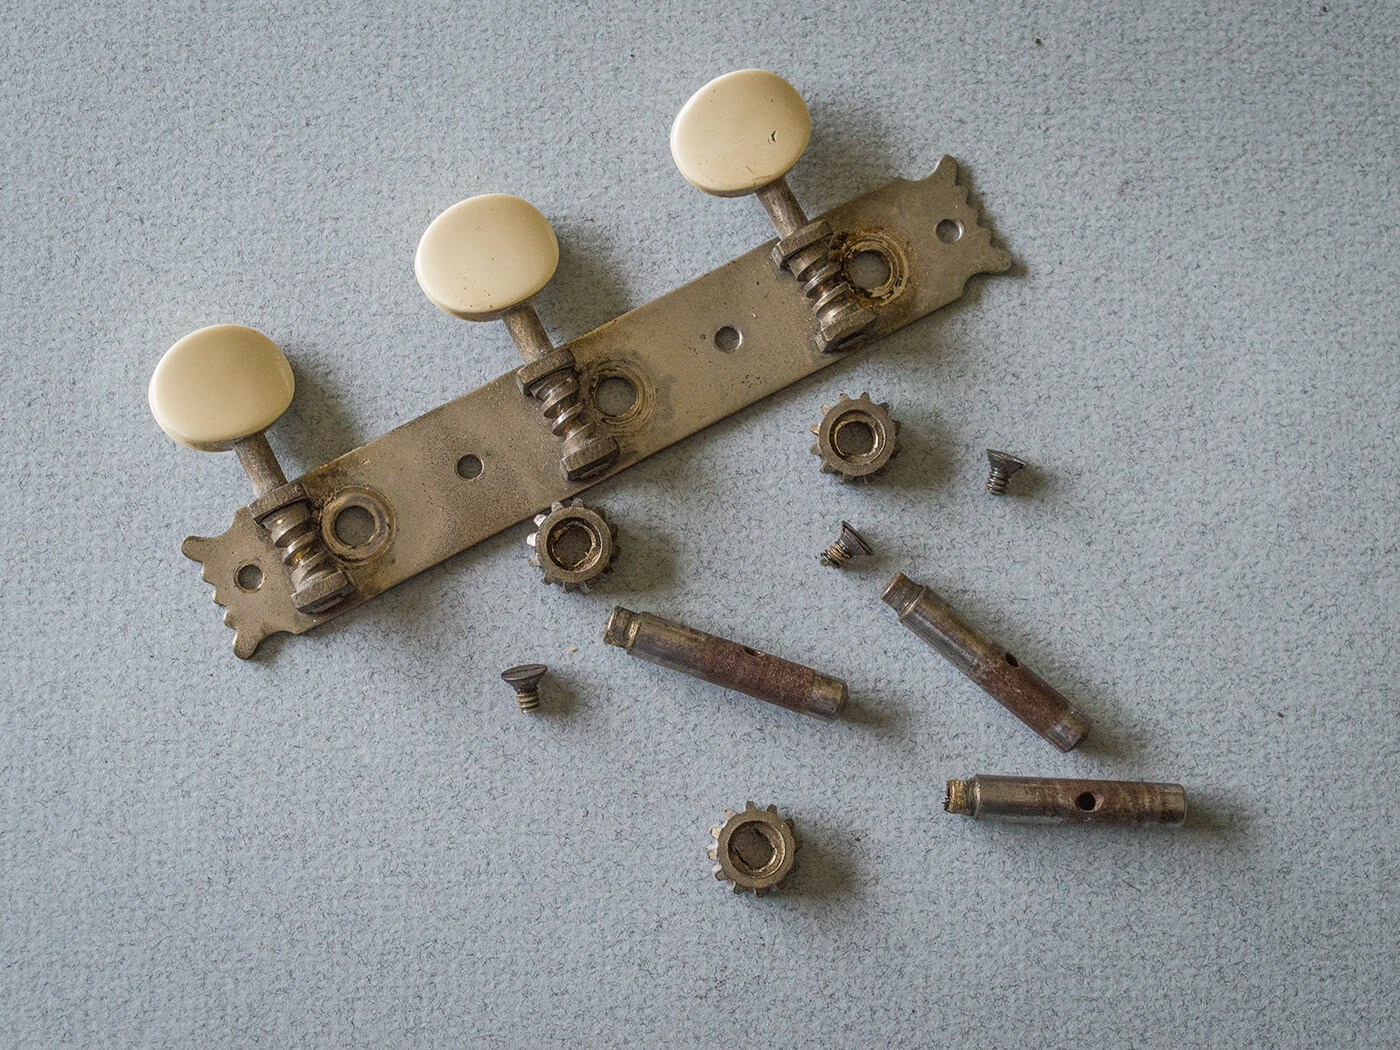
To refresh open-gear tuners, they should first be taken off the headstock – just be careful not to lose the screws. The rear of the tuner post will have a screw that holds it in position and locks it together with the round gear. This gear meshes with a worm that is machined into the shaft that leads to the button. Simply remove the gear screw and you should be able to dismantle the tuner, leaving the worm in place.
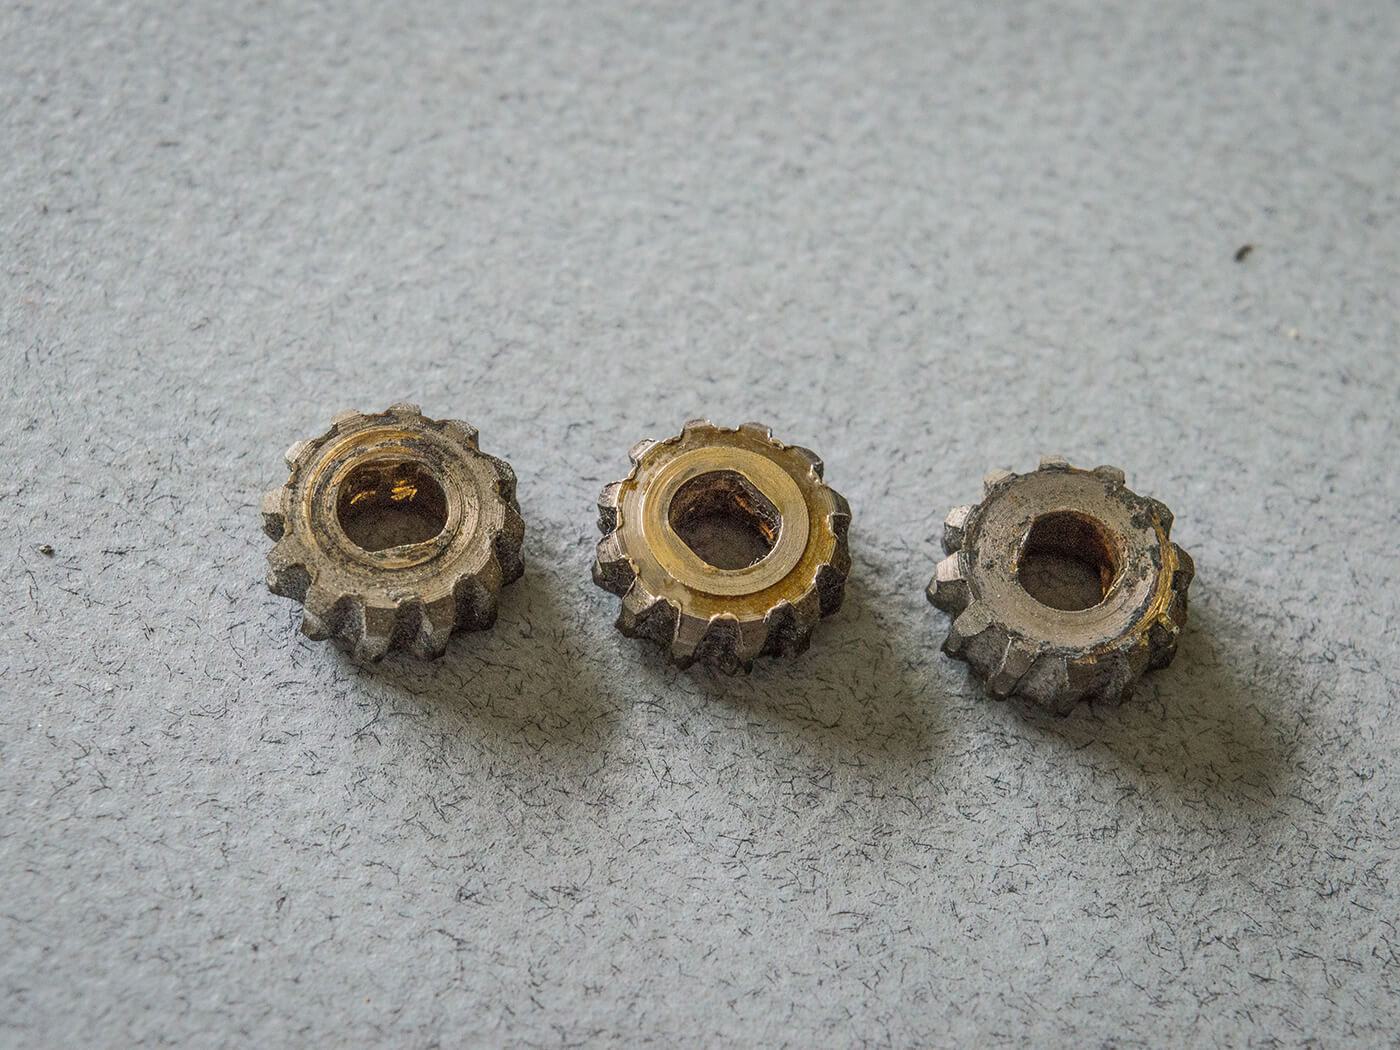
From there, it’s simply a case of cleaning the metal parts to remove all traces of grease and dirt, polishing the parts with chrome cleaner, and then reassembling with fresh lubricant applied to any parts that move against each other, including the gear and worm, the post shaft where it contacts the tuner plate, and at the opening of the bushing on the front of the headstock.
This is all simple stuff and no specialist tools are required, but you do need to use the correct type of lubricant. Forget about WD-40, 3-In-One Oil, Vaseline and car grease. Liquids won’t stay where they’re needed and grease will stay wet and simply attract dirt and dust. In hot conditions, the grease may even liquify and seep into your guitar’s finish – or worse still, the bare wood inside the tuner-post holes.
Instead, you can use a PTFE lubricant, microscopic particles of Teflon carried in a liquid solvent. After the lubricant is applied, the solvent evaporates to leave the slippery Teflon particles where they’re needed and, since the area remains fairly dry, it doesn’t clog up with dirt. You can find PTFE lubricant online and in most DIY stores. Prices vary dramatically, depending on the brand, and it’s available in both squeezy bottles and aerosols.
Cleaning Klusons
Kluson tuners are by far and away the most common machinehead brand seen on US guitars made prior to the 1970s. Repros have now been available for so long that some would surely qualify as vintage themselves. Whether your Kluson-style tuners are six or 60 years old, the cleaning procedure is identical.
A Kluson is an open-gear tuner with a cover fitted over the workings. The cover is largely cosmetic; it doesn’t create a seal between itself and the backplate, and dirt can still get inside. Klusons may take a little longer to clog up than open gears, but most will eventually.
Another difference is that, at the factory, rather than oil, grease was applied to the worm and gear – or, occasionally, no lubrication would be applied whatsoever. On all but the earliest examples, Kluson covers have a lubrication hole for easy maintenance, but surprisingly few guitar players seem to be aware of this.
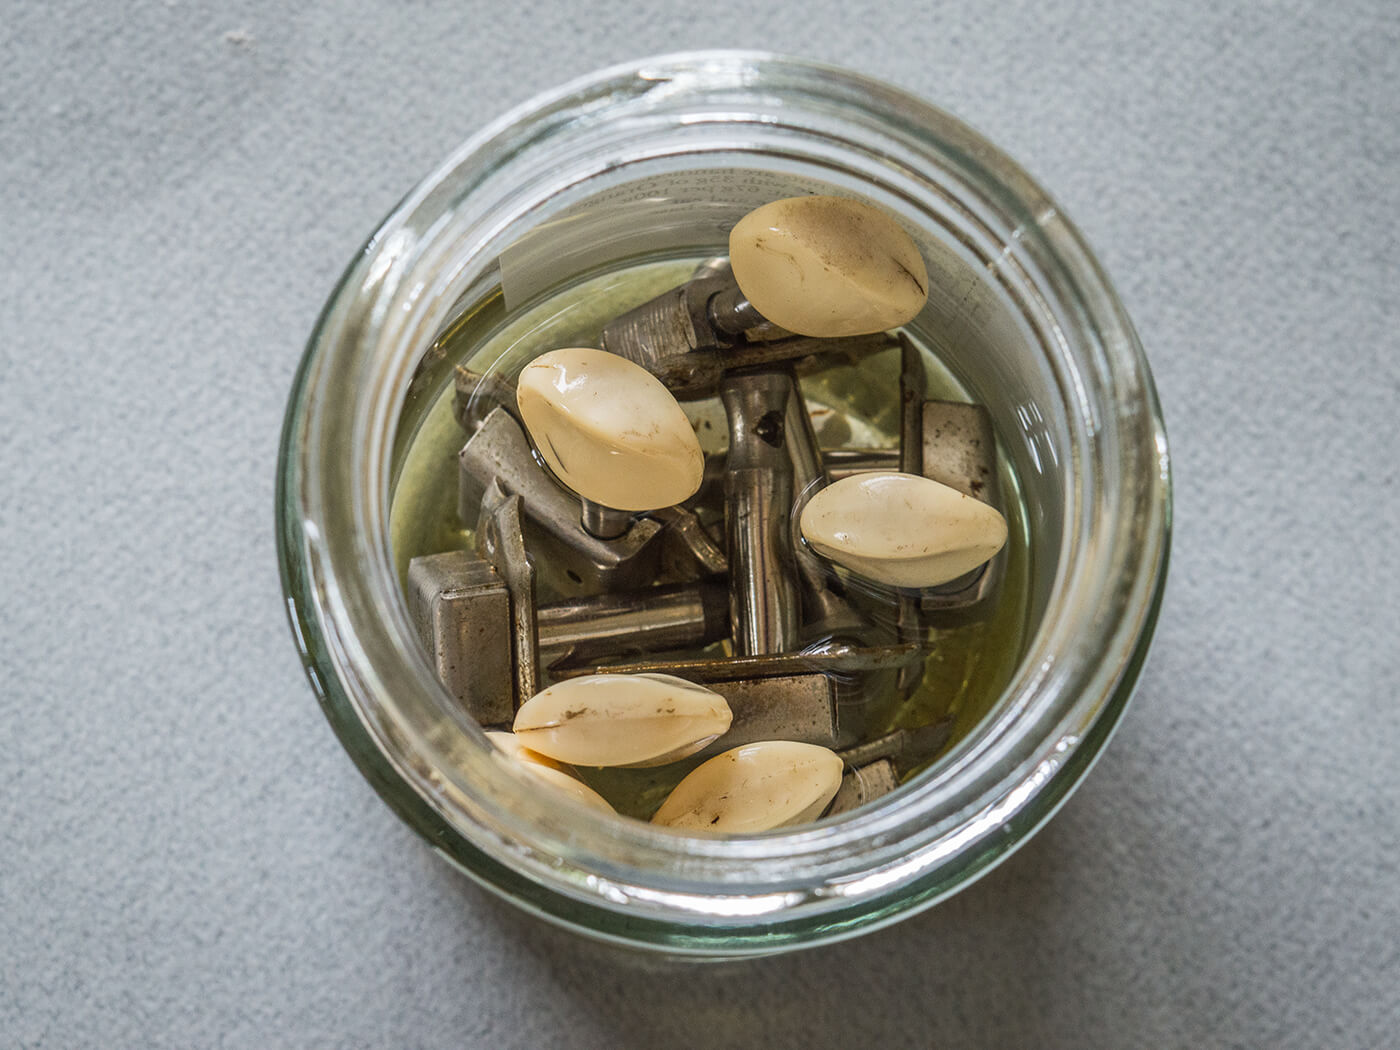
All you need is a bottle of naphtha (aka lighter fluid), a syringe and lithium grease. Place the tuners in a small container, such as an empty jar or aerosol cap, and pour the naphtha over them. I always leave the tuner buttons uppermost – especially if they’re plastic – because I don’t want to risk damaging them. Just make sure the naphtha is deep enough to submerge all the casings and leave the tuners there to soak for a couple of hours.
Remove the tuners from the liquid and place them on some kitchen paper. You’ll probably notice that the naphtha will have changed from clear to a greyish or brownish colour, and particles and debris may have settled at the bottom of the container.
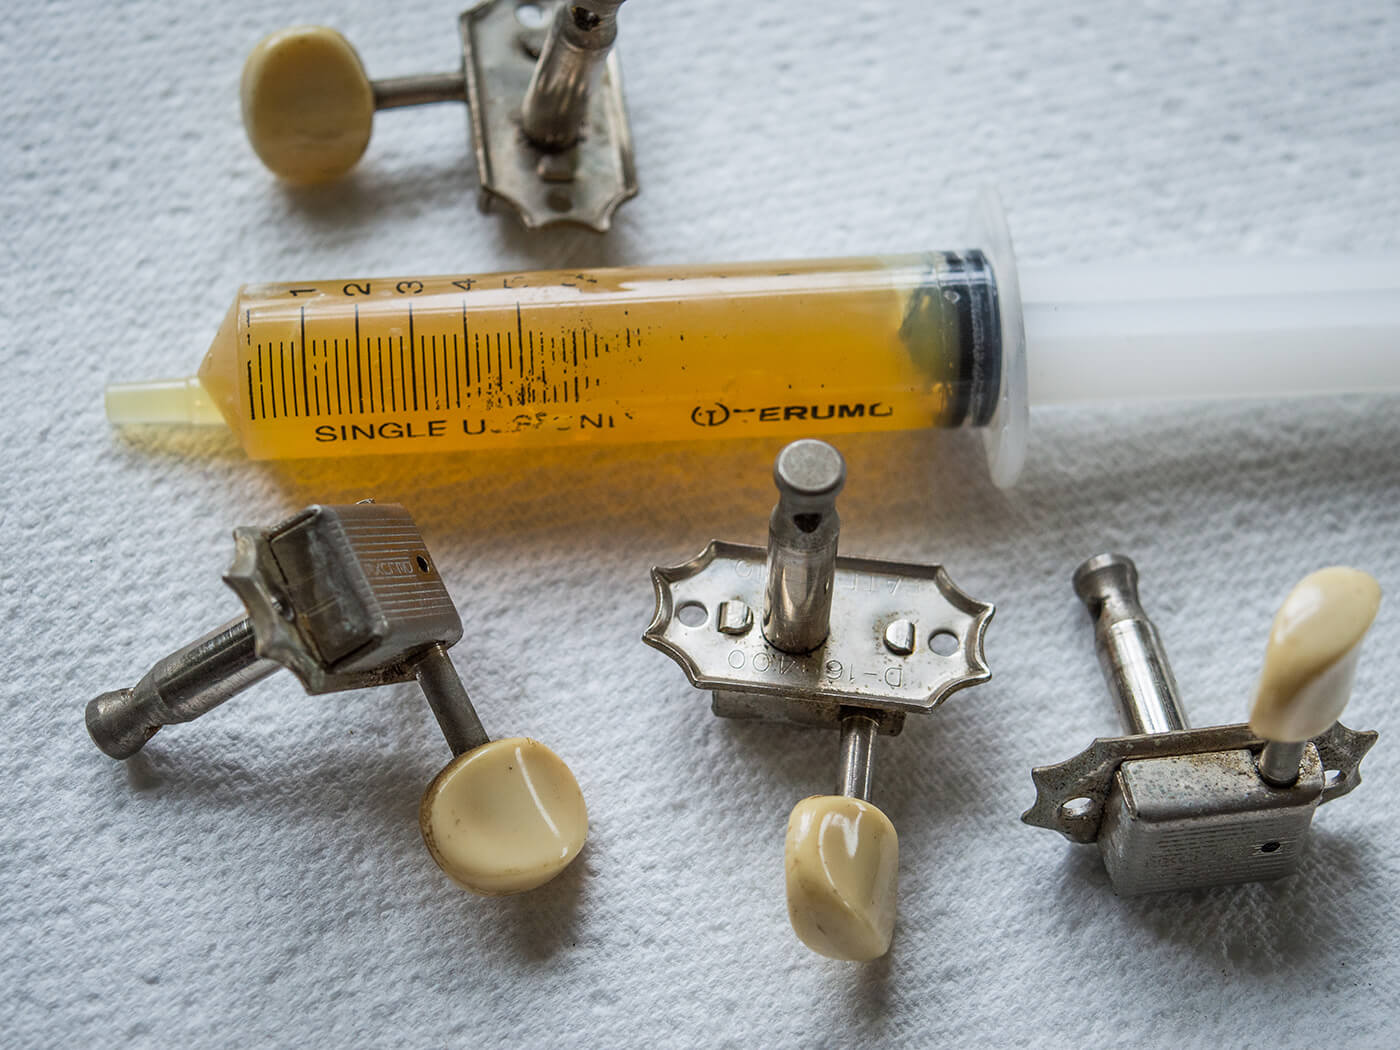
Fill the syringe with fresh naphtha and hold one of the tuners over a plastic tub – used takeaway containers are ideal for this. Press the opening of the syringe over the lubrication hole, or into it if it’s thin enough, and force the naphtha into the casing. This should flush out any remaining dirt and metal particles. Go ahead and repeat this process until you’re confident that the tuner is completely flushed out, then set it aside as you do the rest.
I use lithium grease for Klusons because it has a high melting point and, unlike Vaseline and auto grease, it won’t liquify and run into the finish and wood during hot weather. You should avoid using silicone grease because it may damage the guitar’s finish. Squeeze some lithium grease into a syringe and force it into the tuner casing via the lubrication hole – just as Kluson intended. This can get messy so keep some kitchen paper on hand and be prepared to clean up afterwards.
Next, grip the tuner gently in a vice – or your hand if you don’t have one – and use a string winder to turn the tuner and work the grease through the mechanism. Continue until you see the grease working its way out of the casing. By that point the tuner should be turning freely, so give it a final wipe down and it’ll be ready to go back onto the guitar.
You may need to follow up with another wipe or two over the next few days as everything settles down and any excess grease works its way out of the casings. After that, your Klusons should be good for at least a couple of years. And if your Klusons aren’t actually vintage, you can probably bypass the naphtha flush and simply squeeze in a bit of lithium grease once every few years.
Breaking the seal
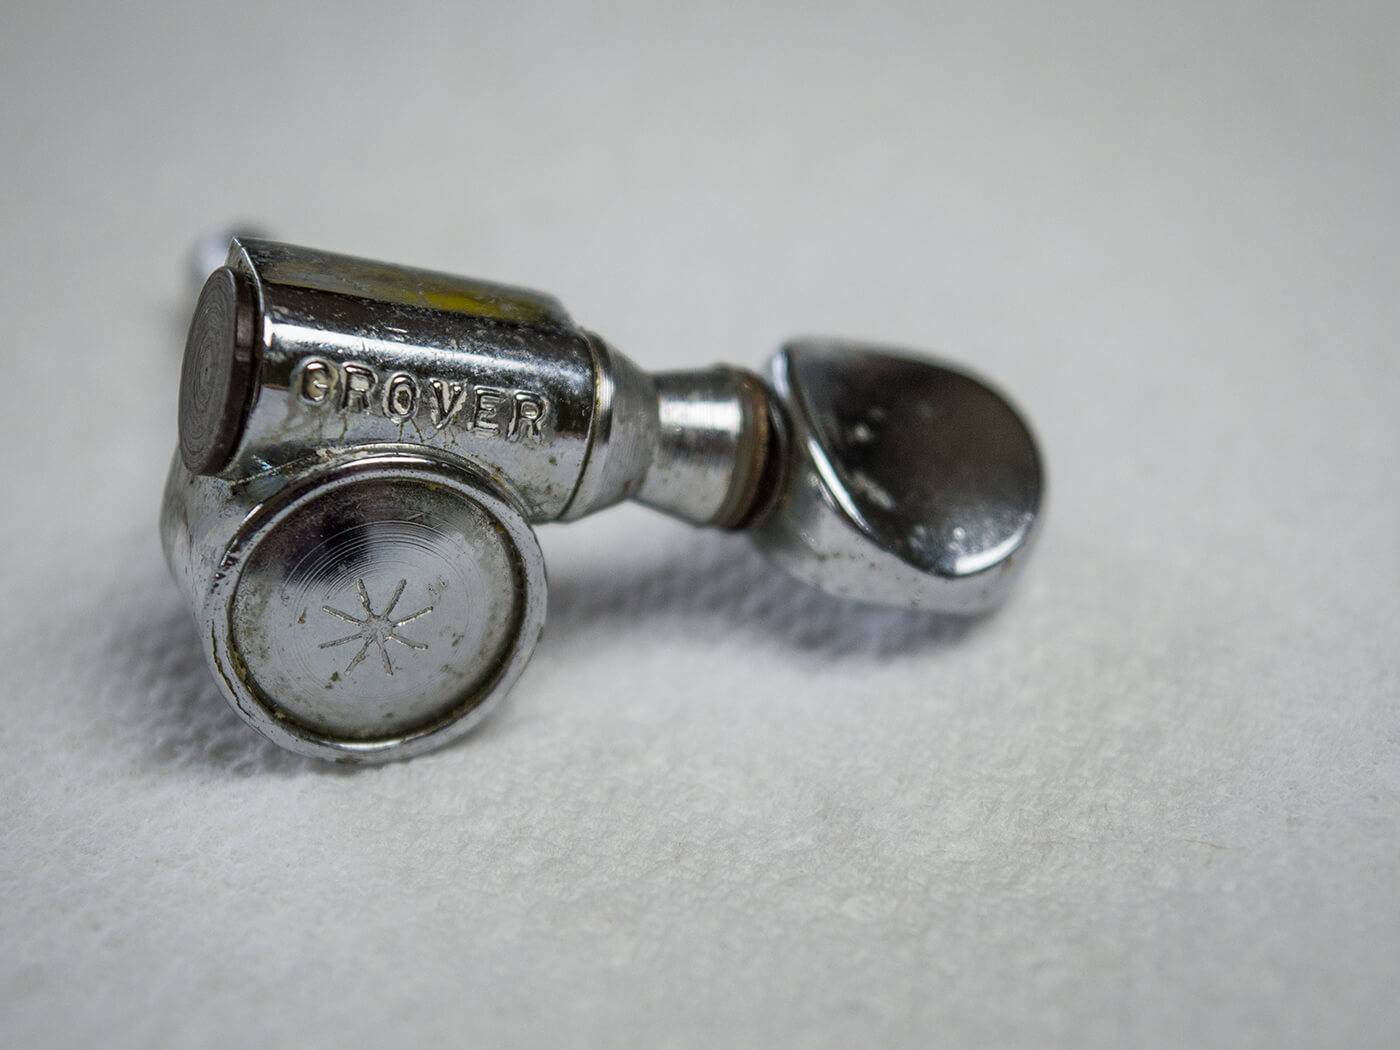
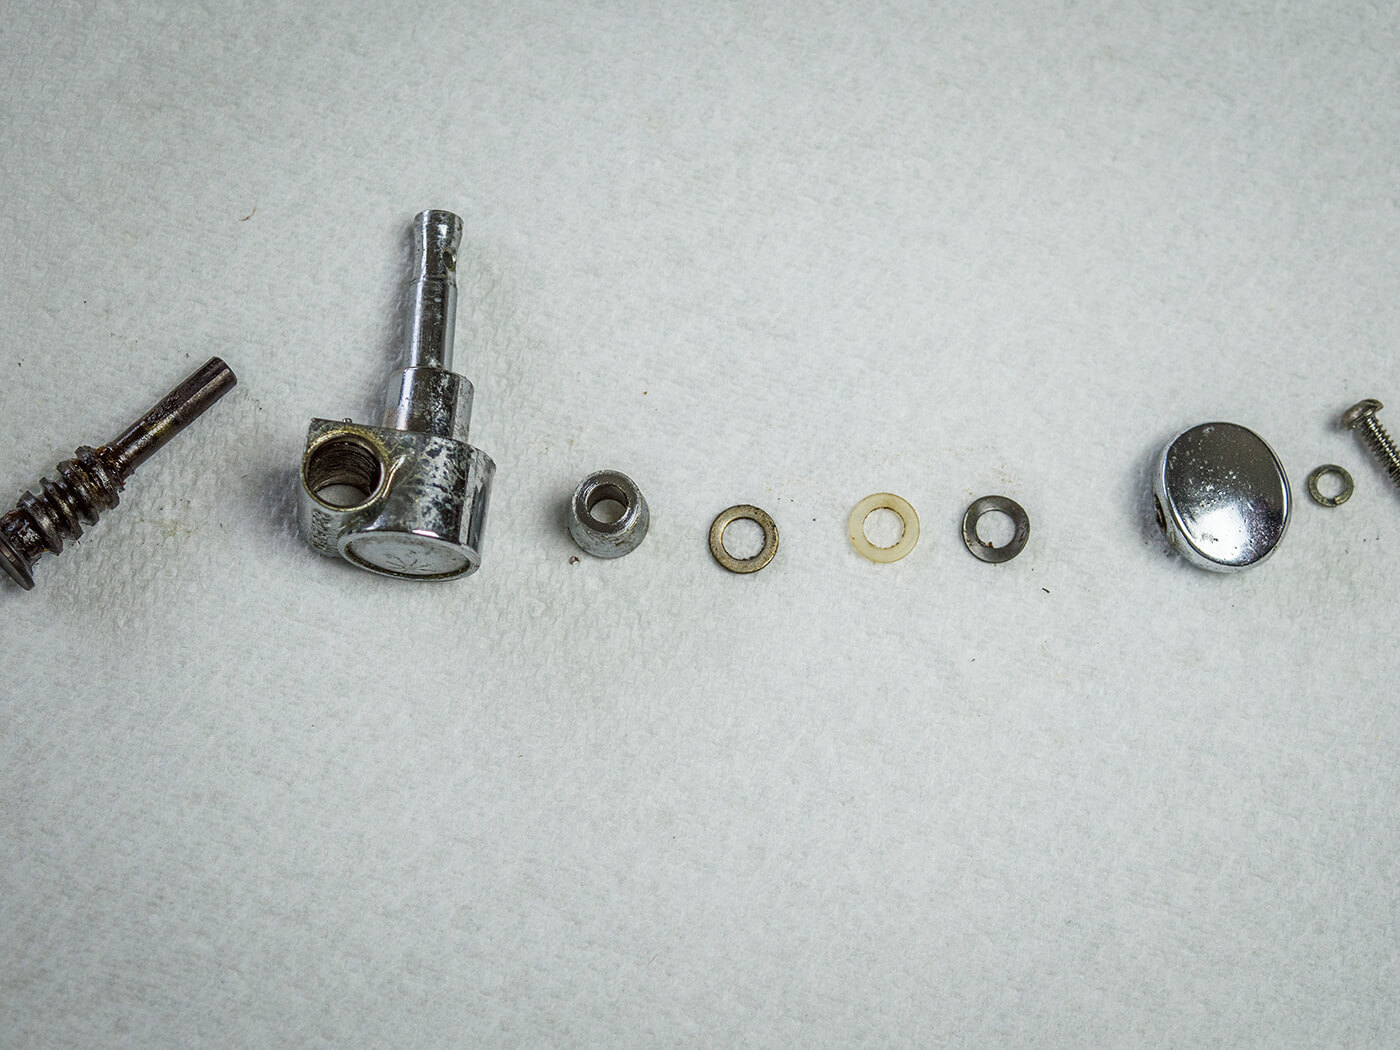
Here, I’m working on an old set of Grovers, but all die-cast tuners are much the same and dismantling them for servicing is quite straightforward. Simply remove the screw and washer from the end of the button, then lift off the button followed by the three tiny washers. Take care not to lose them and note the order in which they are fitted on the shaft. If one or more of these washers goes missing, you will need to replace it.
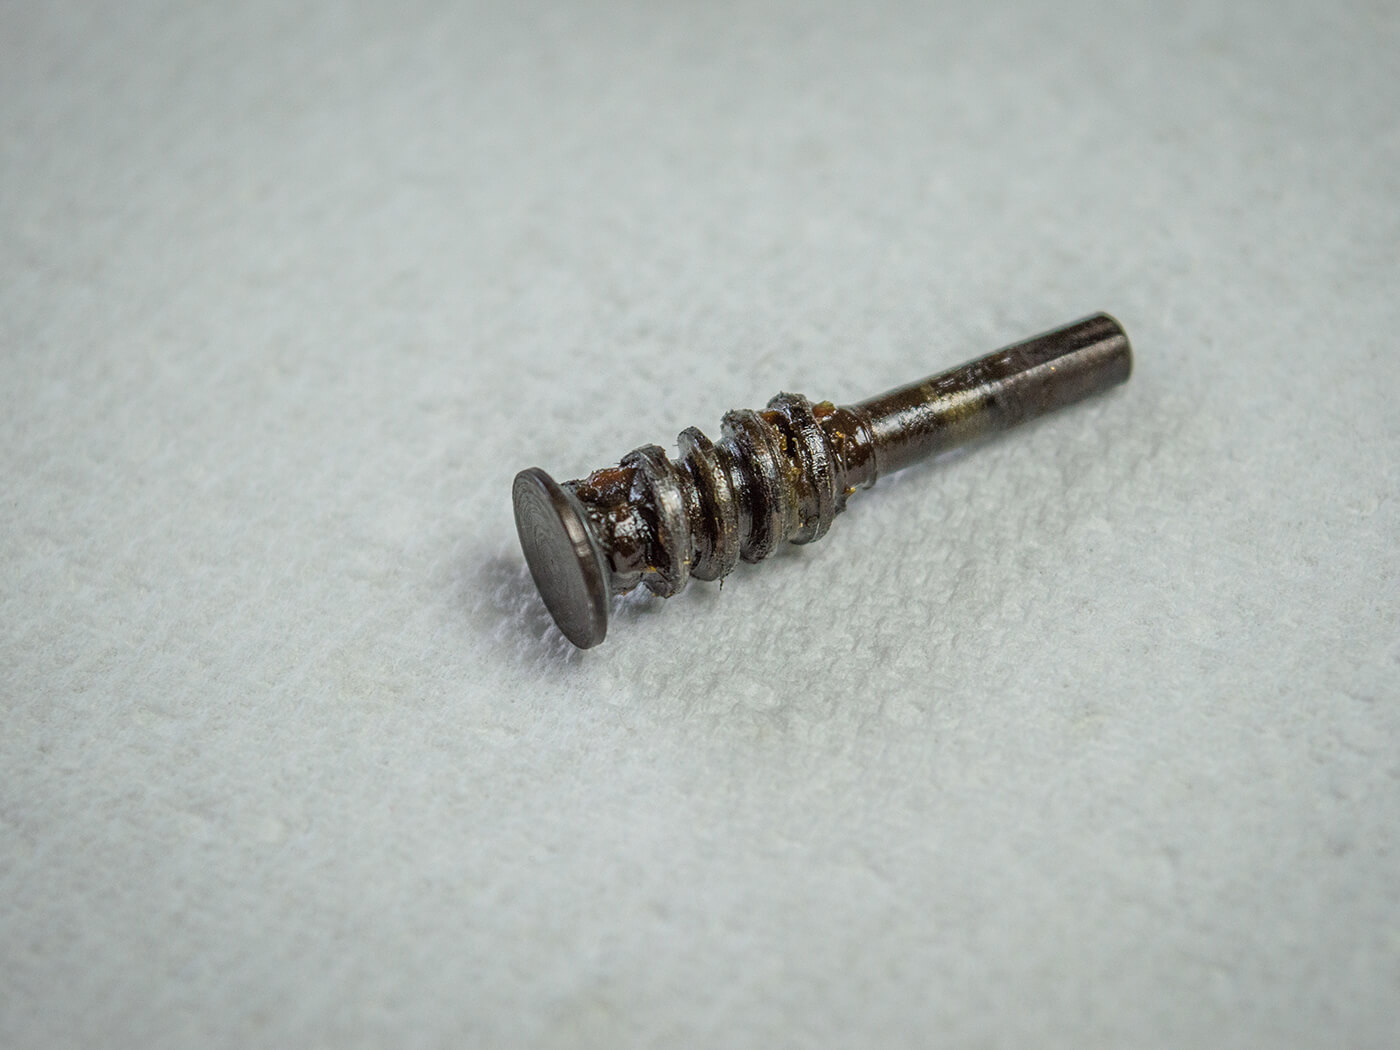
With these Grovers, there’s a spacer to remove before the tuner worm can be pushed out of the casing. If you take a look inside, you should be able to see the state of the gear – in this case, it’s caked in hardened grease. Clean this off with some acetone and a cotton bud, along with the inside of the tuner casing. Apply some fresh lithium grease to the tuner worm and the gear, which can be accessed inside the casing.

From there, reassembly is simply the reverse of disassembly, with the addition of some grease or PTFE lubricant between the washers. The refurbished tuner should feel solid but smooth. Any looseness or sloppiness, which can often be an issue with sealed tuners, should be gone too.
Even if you don’t fancy stripping one of these tuners down completely, it may still be worthwhile removing the button and lubricating the three washers. You should be able to tighten the button screw sufficiently enough to eliminate any sloppiness and still have the tuner rotate with ease. To finish, always tune up to pitch rather than down to pitch, regardless of the type or condition of your tuners.
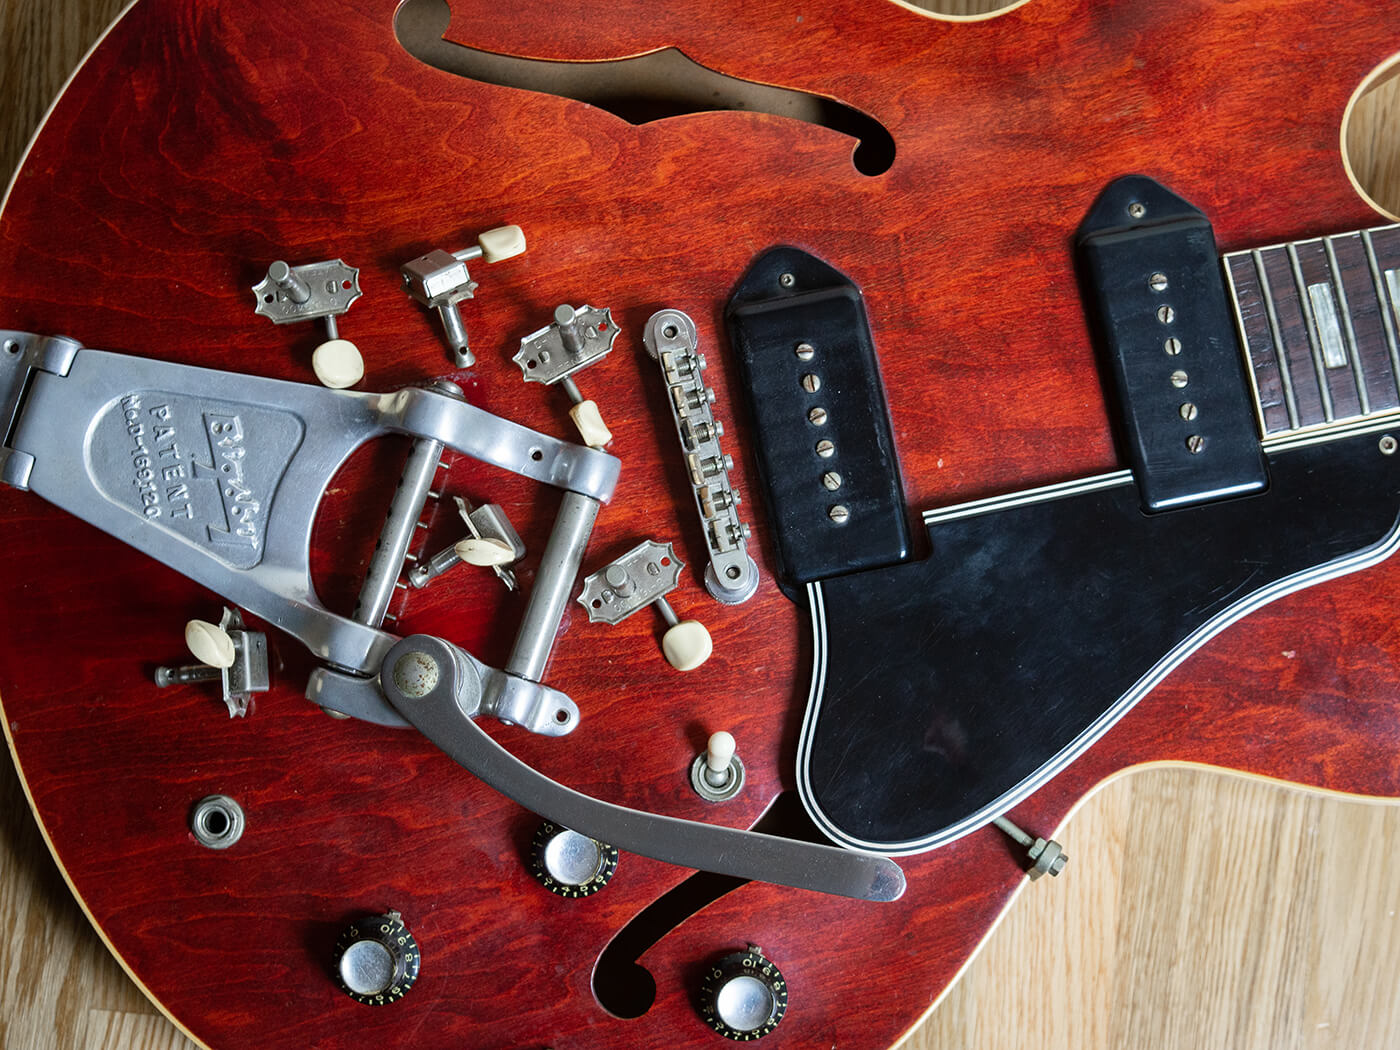
Free bar
An enormous percentage of players experience tuning problems when it comes to vibrato bridges and tailpieces. Here, I’m focusing on Bigsbys – you can find plenty of maintenance advice for other types of vibratos on Guitar.com.
Though they are much maligned and misunderstood, Bigsby vibratos are well-engineered devices that require quite little maintenance. But, after several decades of use, you may find that they can feel a bit stiff and that they may not return to pitch quite as well as they should.
You can assess your Bigsby at the same time as changing your strings. With all the strings removed, try raising and lowering the arm to determine how the pin bar is moving. If there’s a front roller, try spinning that too. Both should move freely and without any friction. If they don’t, then the grease in the roller bearings has probably decayed and become sticky, so it’s time for a clean.
Fortunately for us, Paul Bigsby designed his products in an era when things were generally repaired rather than replaced, and it’s pretty easy to strip down a Bigsby. The B7 on my 1962 Gibson ES-330 has probably been on the guitar since it was new, and a service is long overdue.
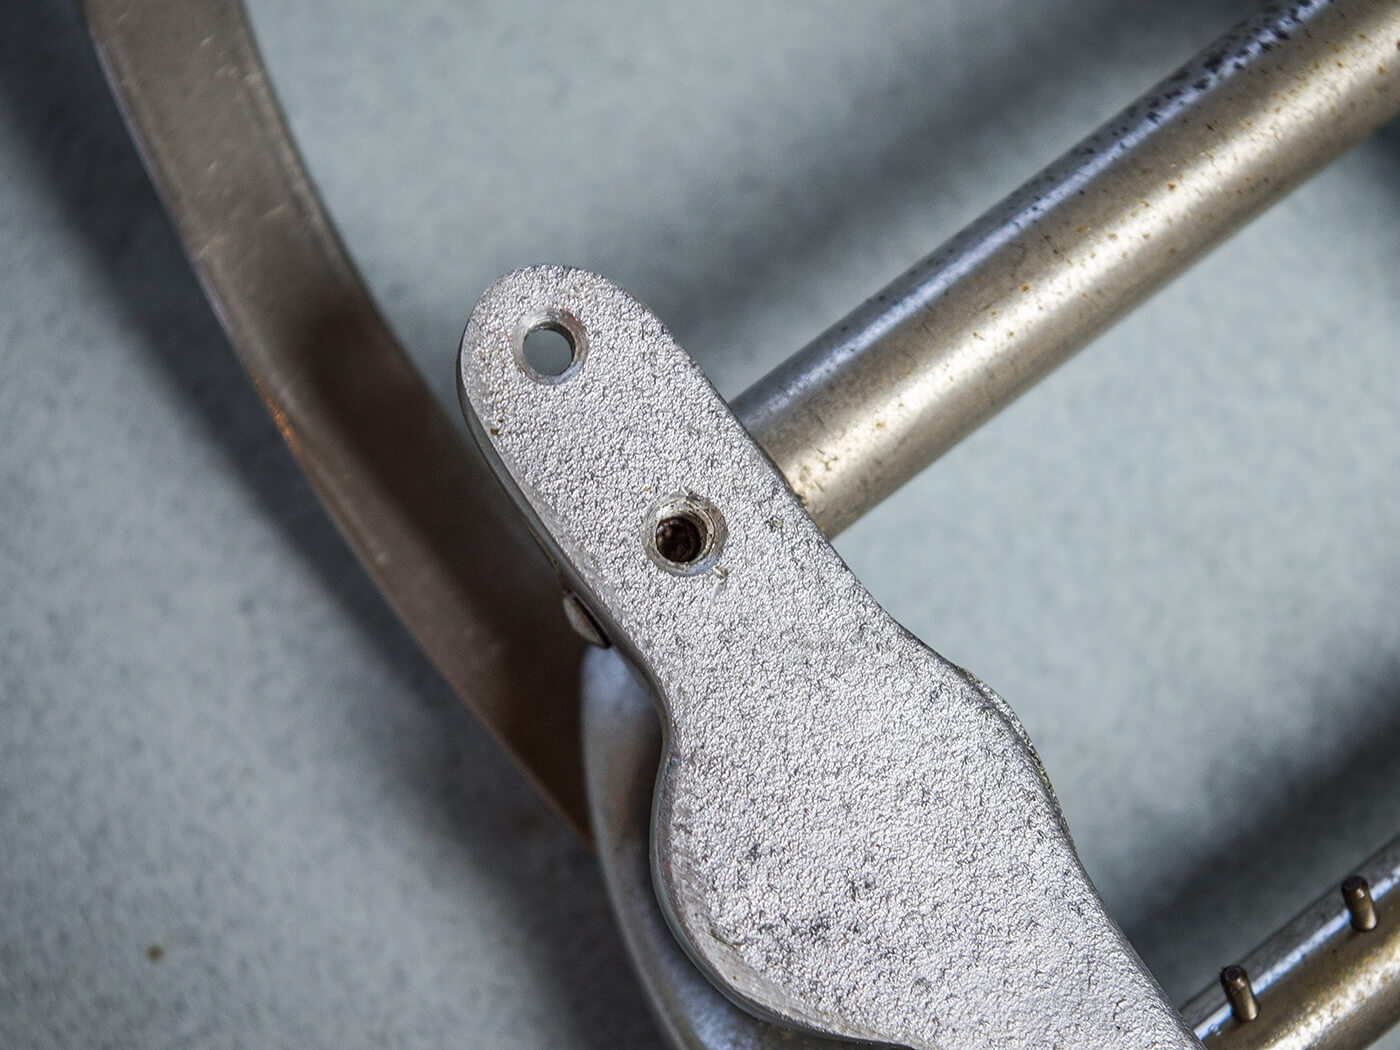
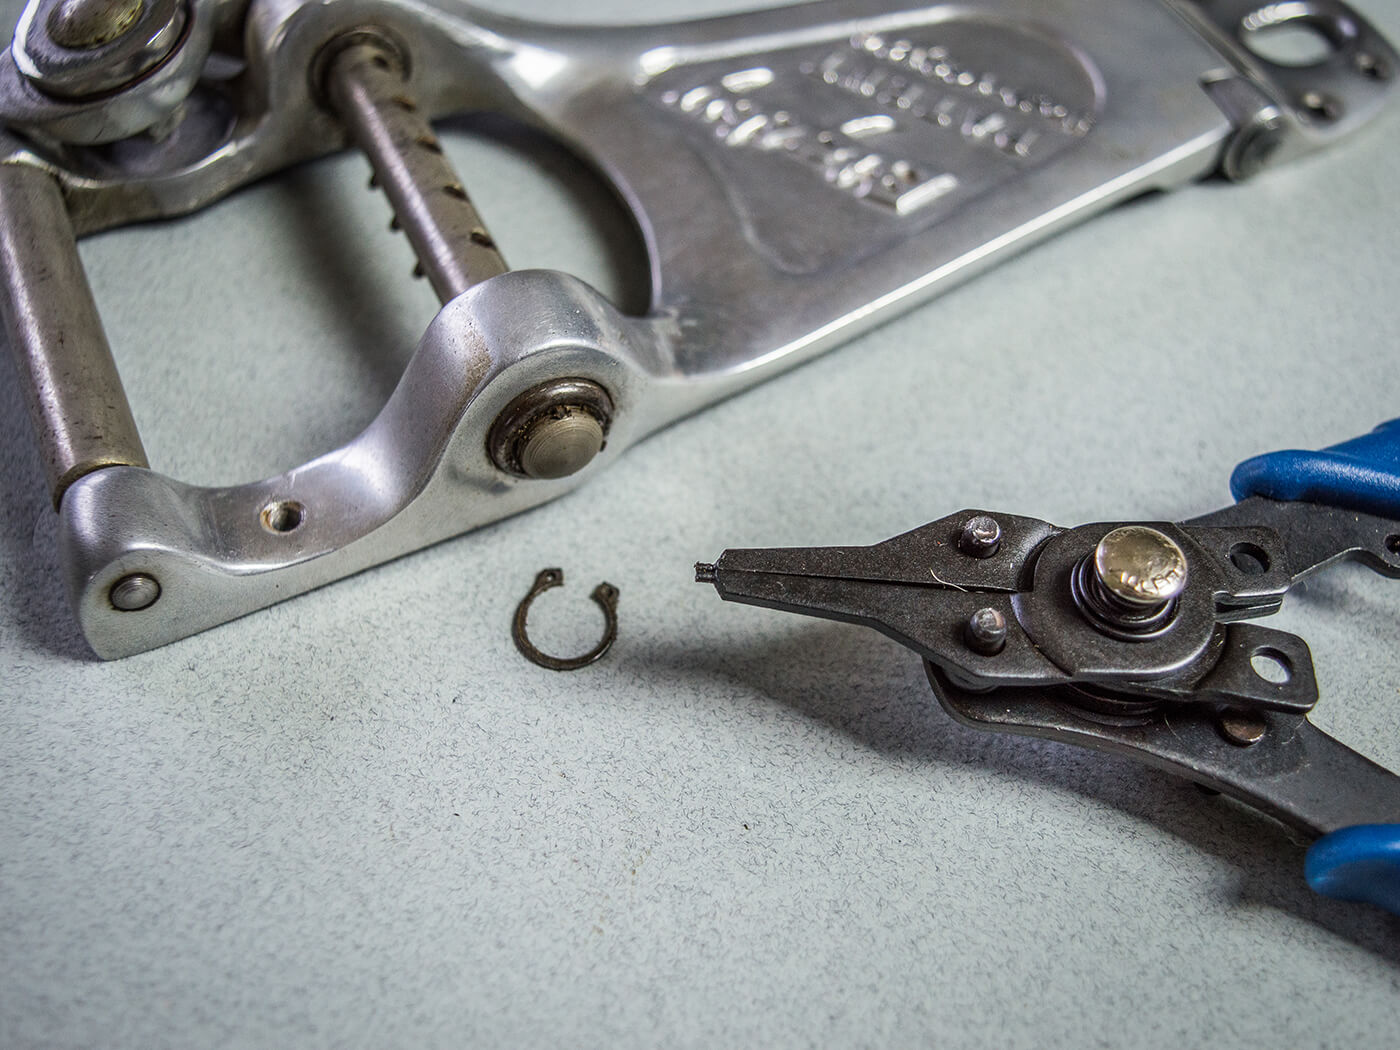
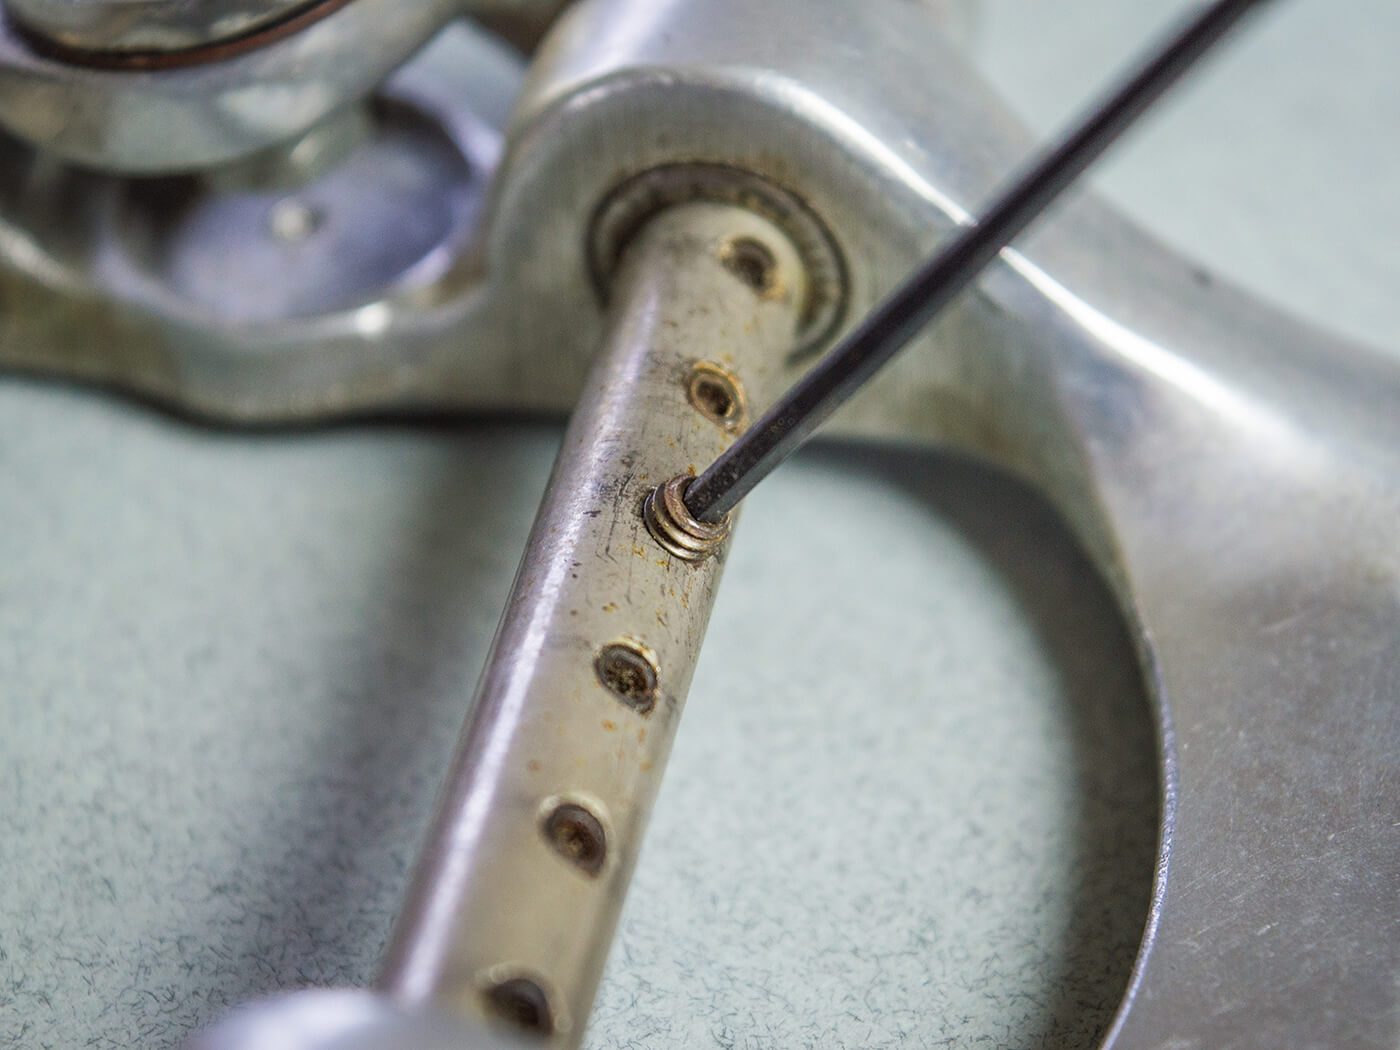
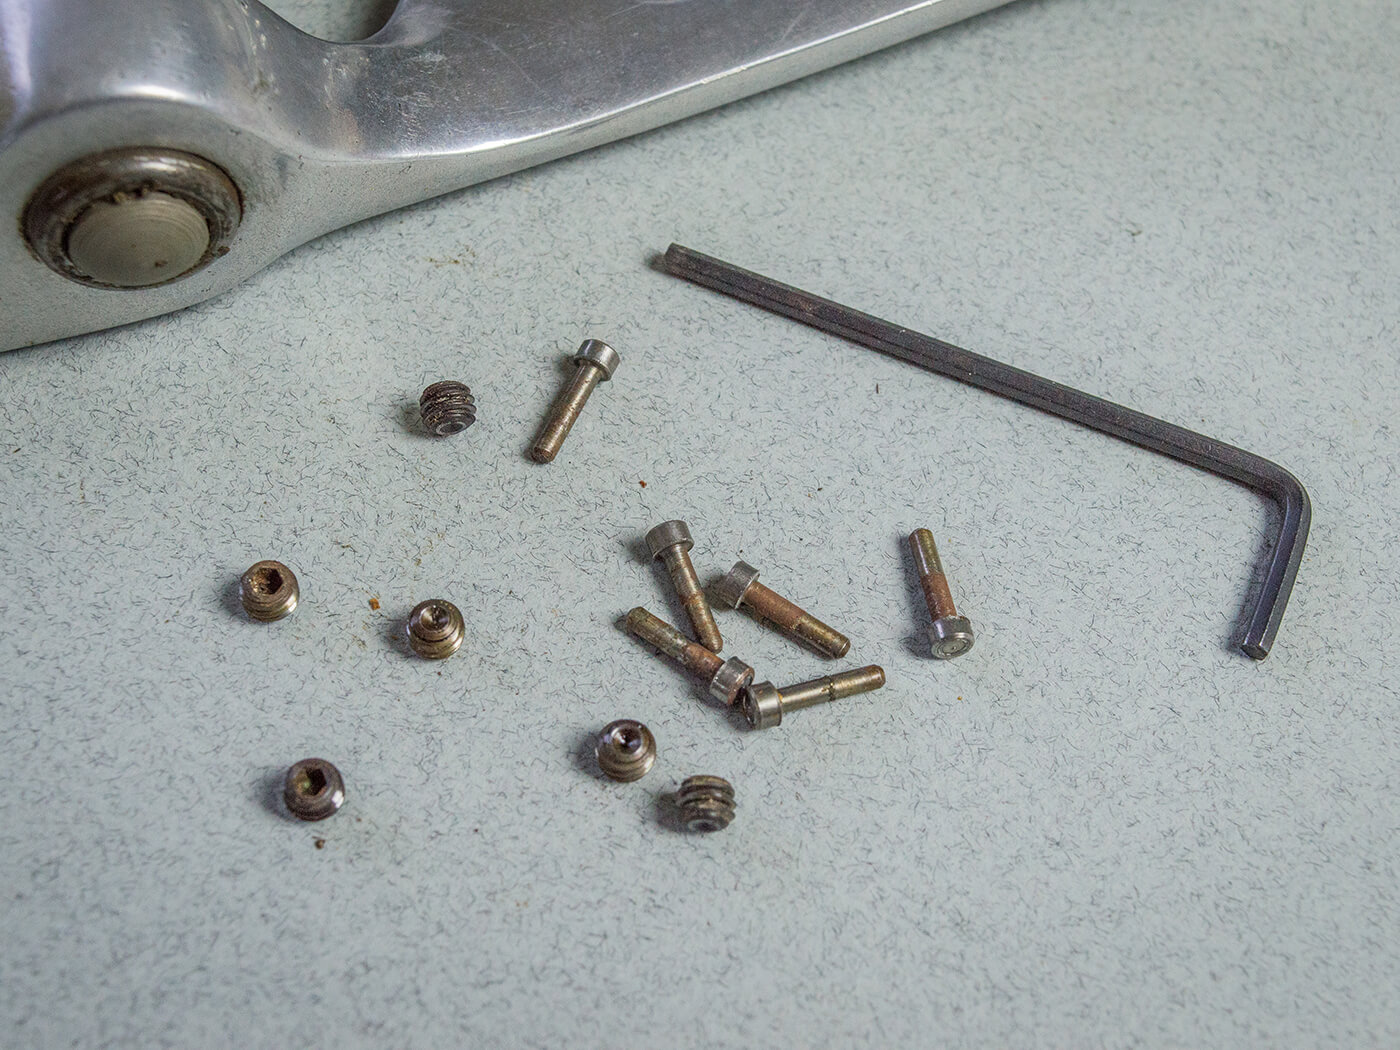
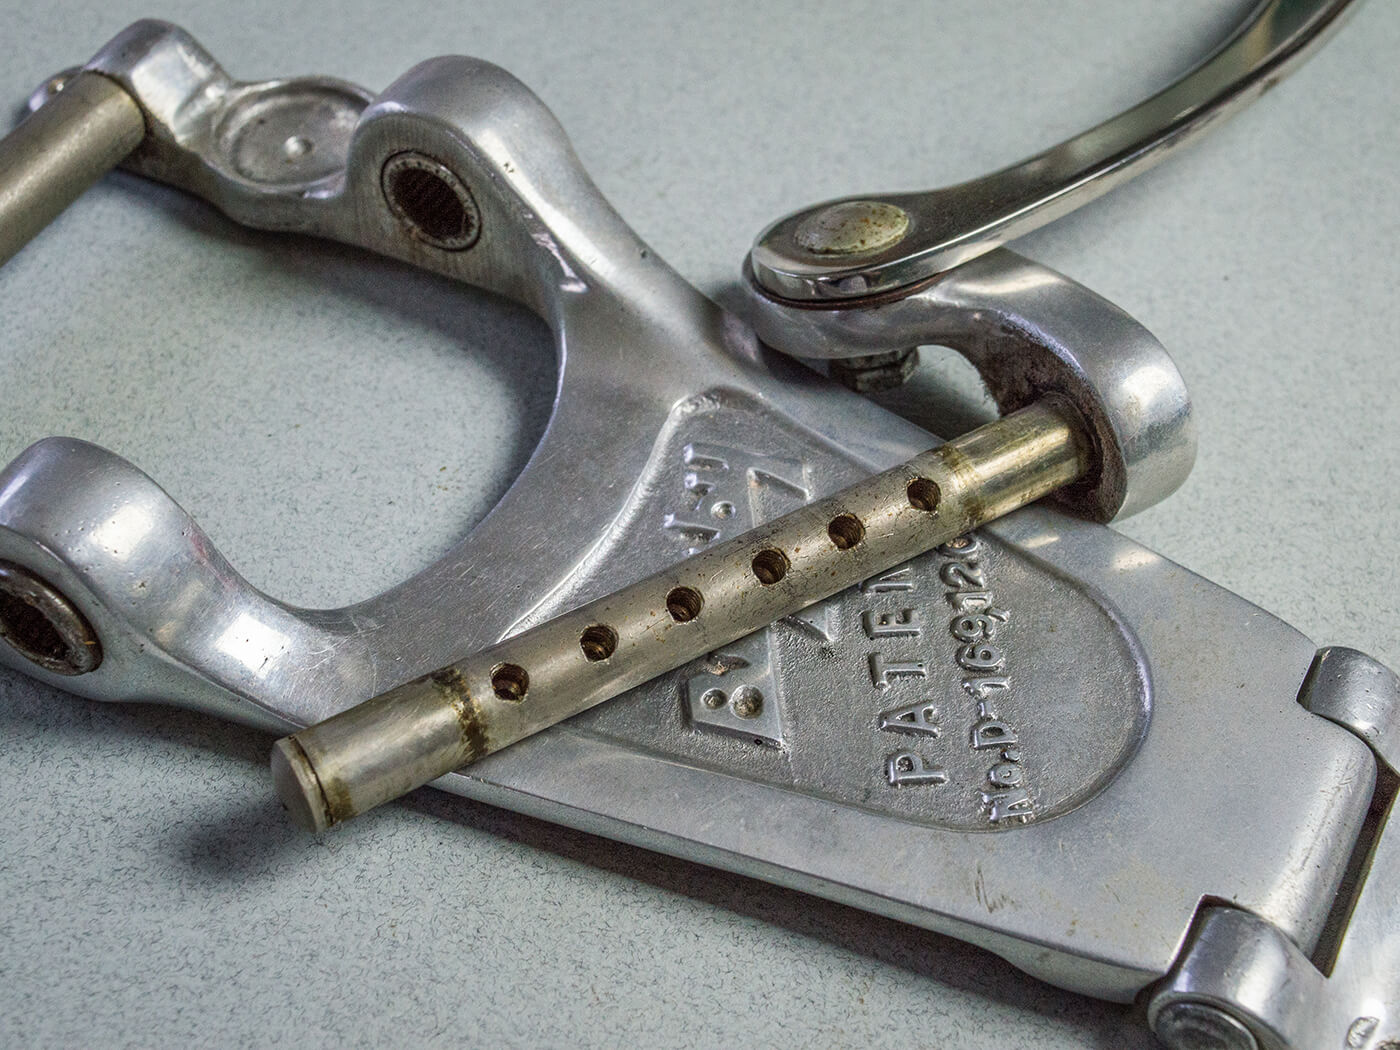
I begin by removing the circlip at the bass end of the pin bar. It’s the only part that requires a special tool – a set of circlip pliers costs just £4.99 at Screwfix. Once the circlip is off, I use an Allen key to remove the grub screws that hold the string pins in place. The pins then push through the holes and the pin roller slides out of the main casting. There are two roller bearings pushed into the casting and, like the pin bar, they’re all gummed up and sticky. I clean everything off with acetone and cotton buds, and then polish the ends of the pin bar with Autosol, before applying lithium grease to the roller bearings and then pushing the pin bar back through the bearings.
With the circlip back in place and holding everything together, the mechanism feels far smoother and looser. The pins and plugs are replaced and, for many Bigsbys, that would be job done. But I also need to take a look at the front roller.
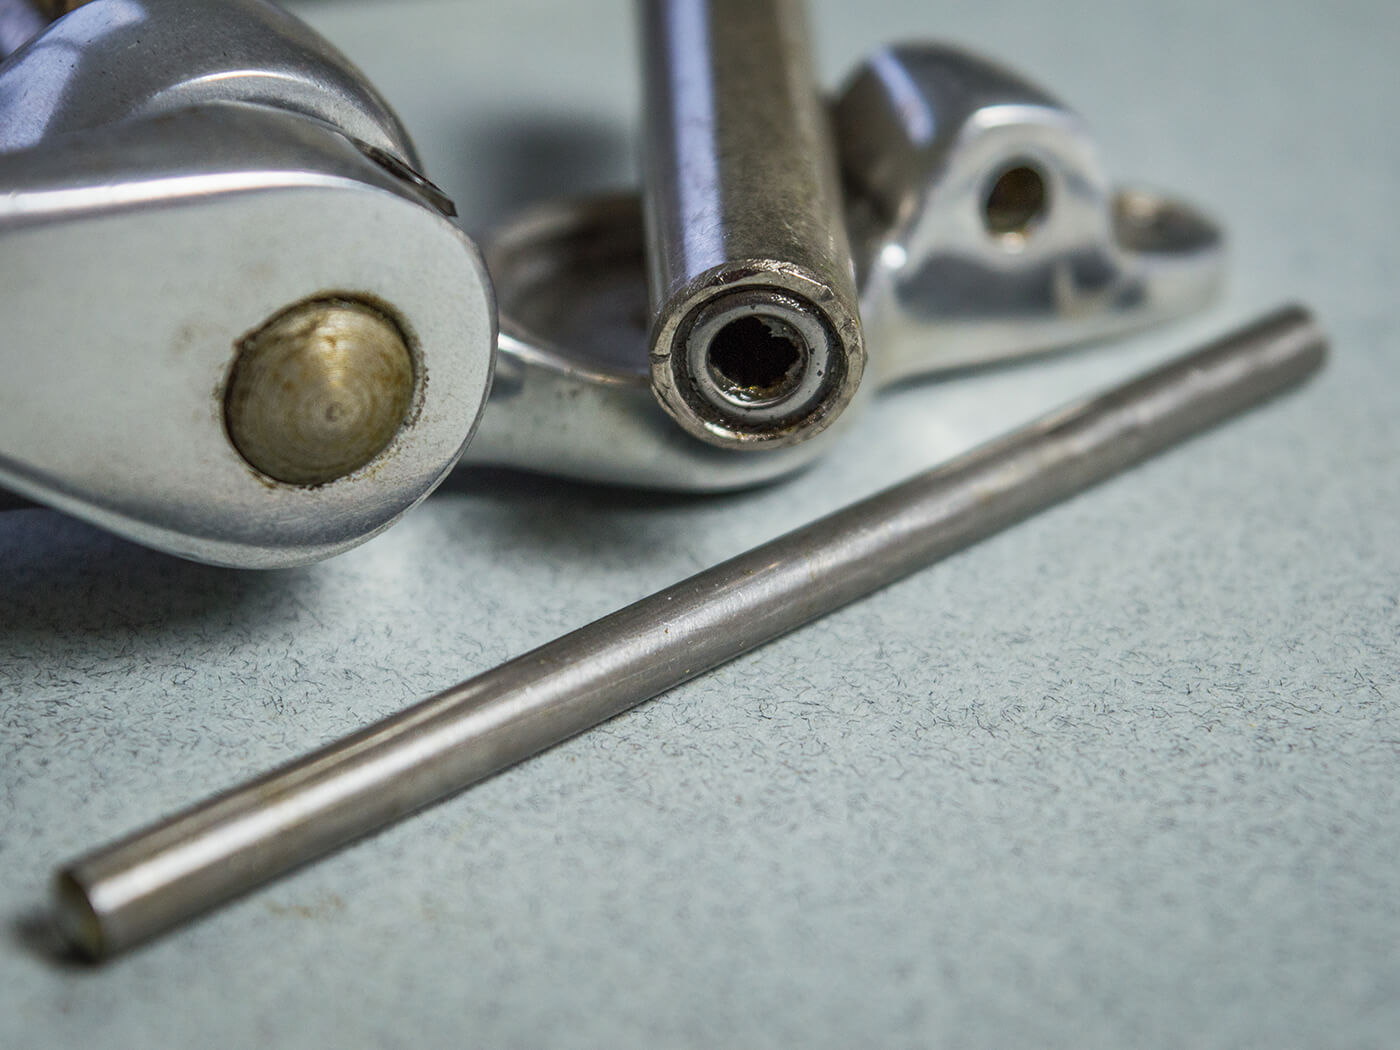
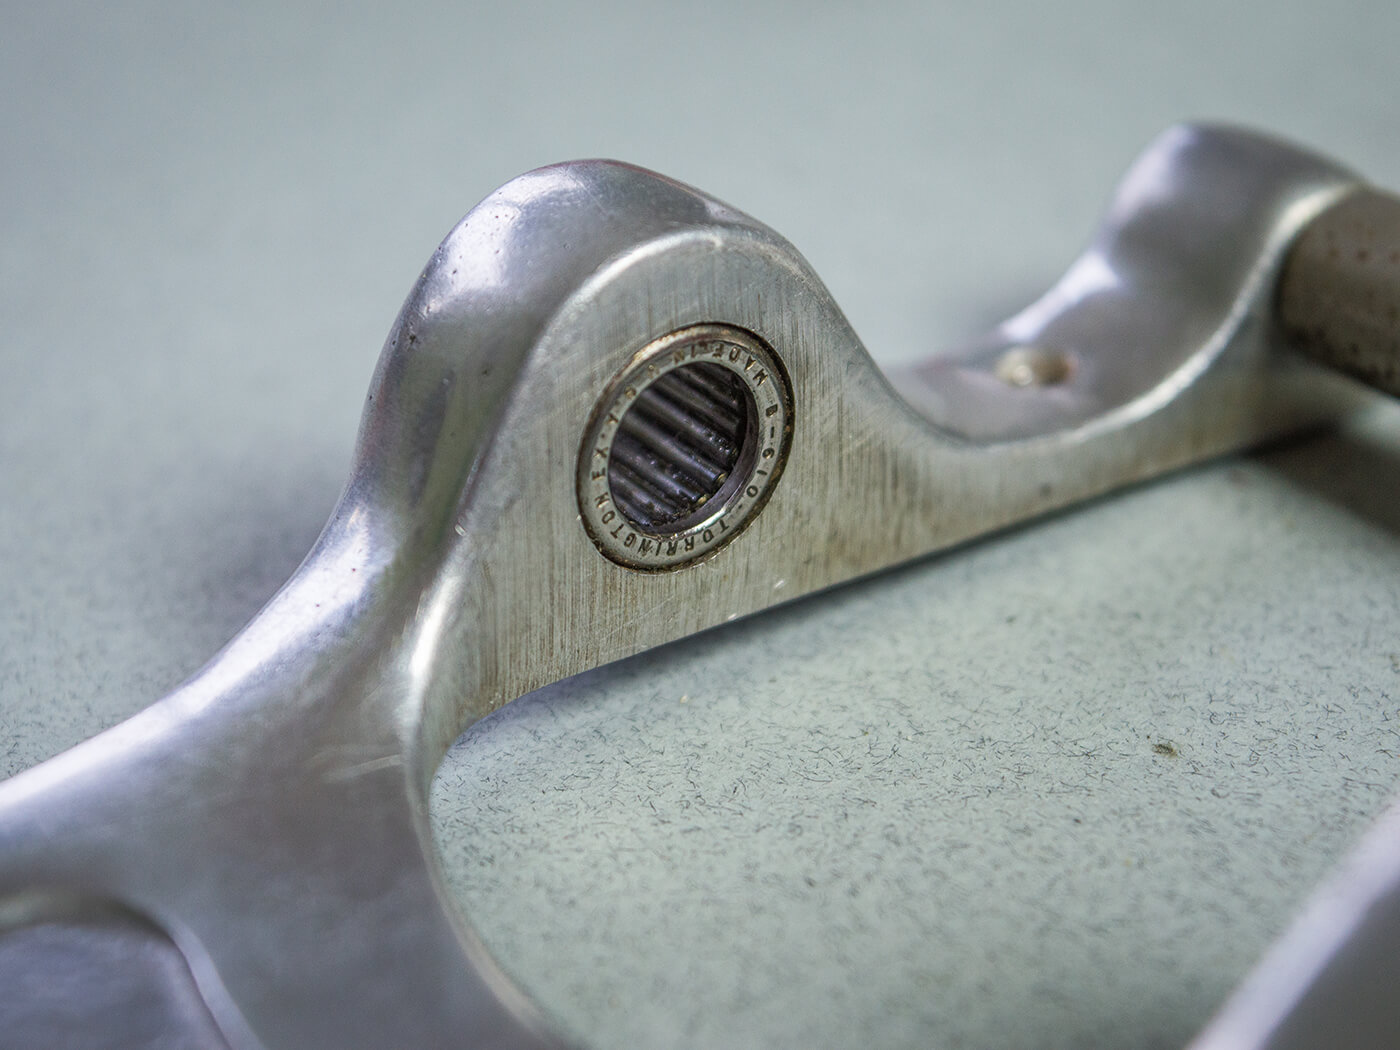
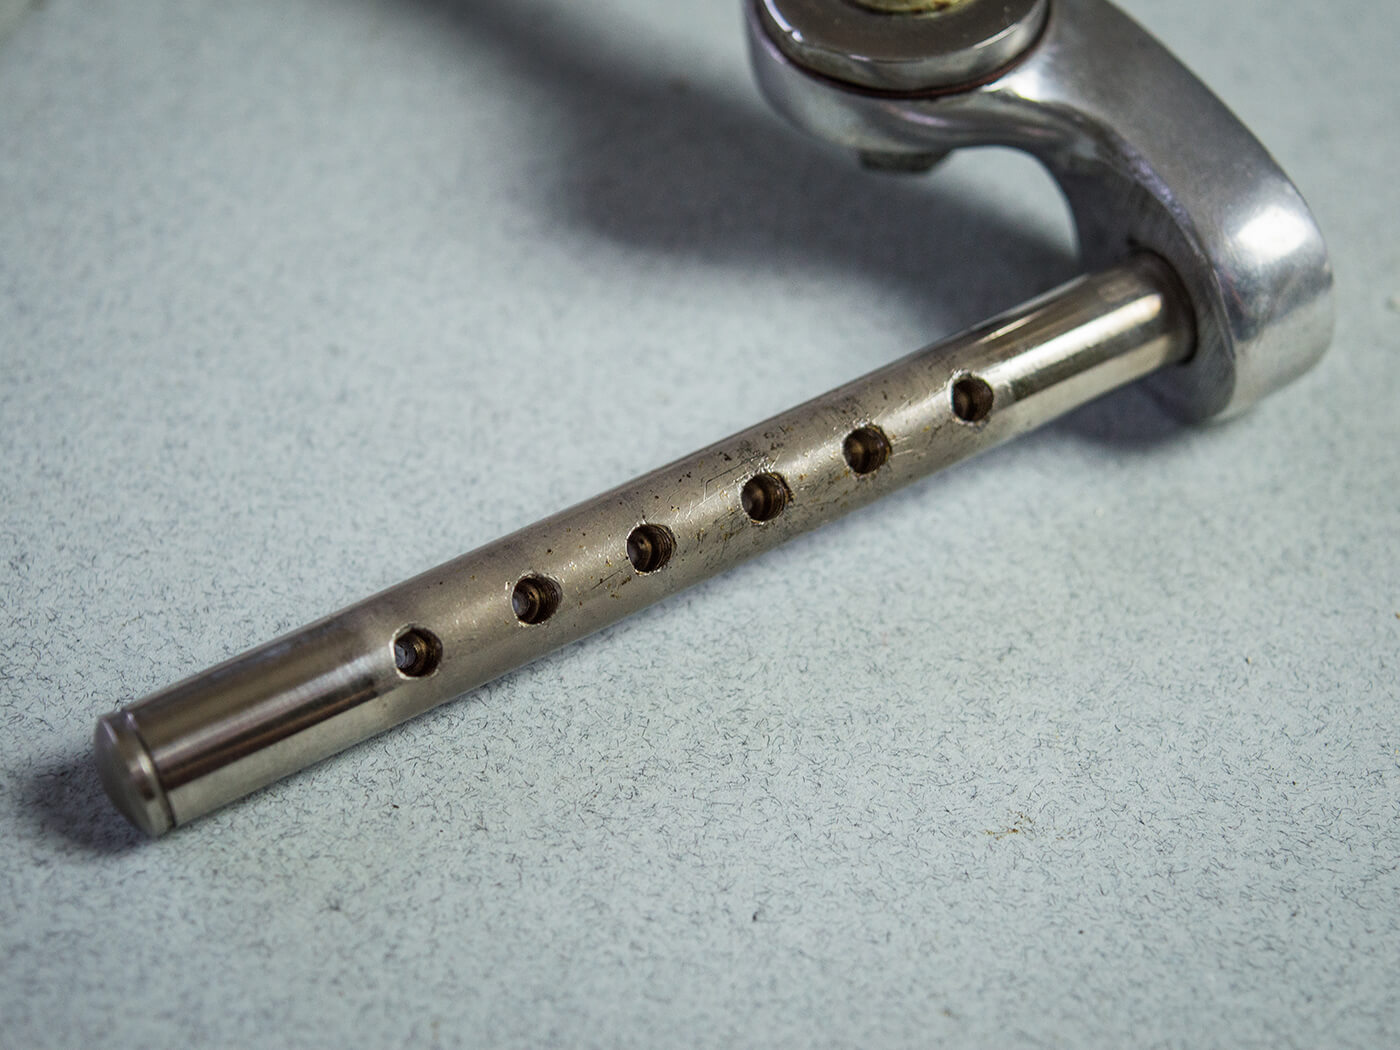
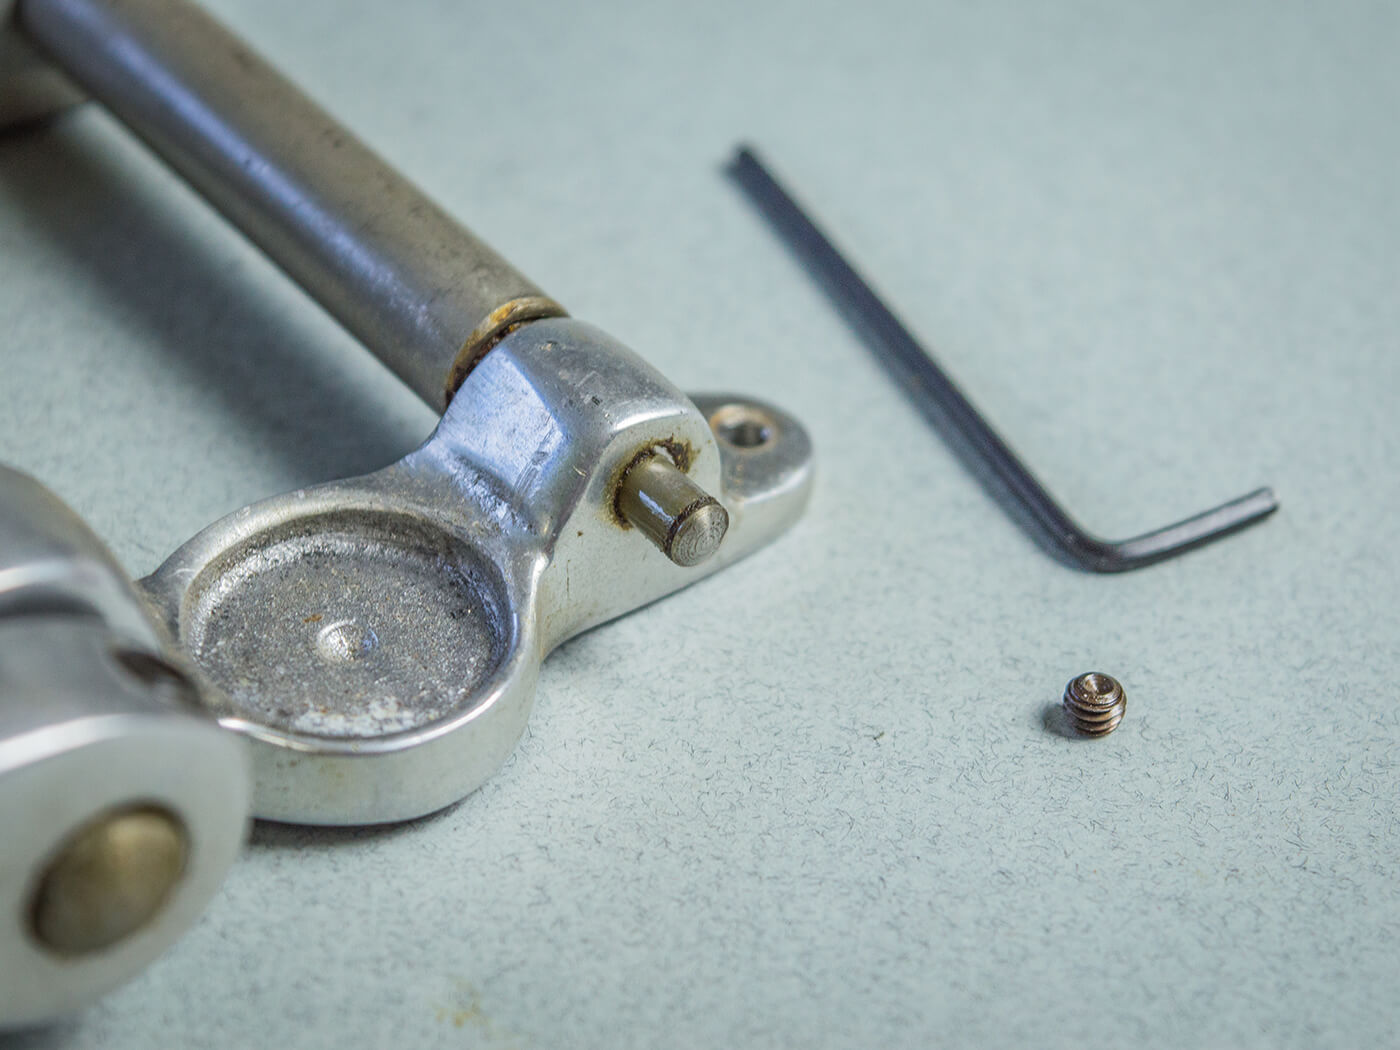
The mechanism employs a captive bar that’s held in position by another grub screw. The roller is actually a metal tube with roller bearings at each end that slide over the bar. So, using the same Allen key as before, I remove the grub screw, slide the bar out of the casting and release the roller.
Here, the decayed grease feels like wet glue and, to dissolve it, I soak the roller in acetone, which also removes the grease from the bar. Once the parts have dried, I apply some lithium grease to the roller bearings and reassemble the whole thing. Servicing the Bigsby B7 takes me about an hour and, once I’m done, it feels like new. Hopefully it should be good for another decade or so of atmospheric wobbling.
Achieving rock-solid tuning is a complex task and there are countless factors at play throughout. While it might seem like a lot of effort, servicing your tuners and Bigsby is immensely satisfying, will help enormously, and will almost certainly improve your guitars. Why not give it a go?
For more DIY workshops, check here.